Kitchen Tiling Wokingham
We completely renewed the kitchen and hallway floors at a property on Hollybush Ride, Wokingham. The existing tiled surface was cracking and loose because it had been laid on a floated floor base, which isn't suitable for tiling. We removed all the old tiles, adhesive and matting, then strengthened the subfloor with cement boards and two coats of self-levelling compound to create a stable, level base. The customer chose wood-effect porcelain plank tiles in a diagonal pattern, which required careful planning around the kitchen island. We laid them with S2 adhesive and levelling clips to ensure a strong, flexible finish with minimal lippage. After grouting, the floor was ready for the customer's final decorative touches.
Updates
 Started
We've started removing the existing floor tiles in this Wokingham kitchen. While the tiles are cracking up, the ditra matting underneath is proving stubborn to pull up.
October 2026
 In progress
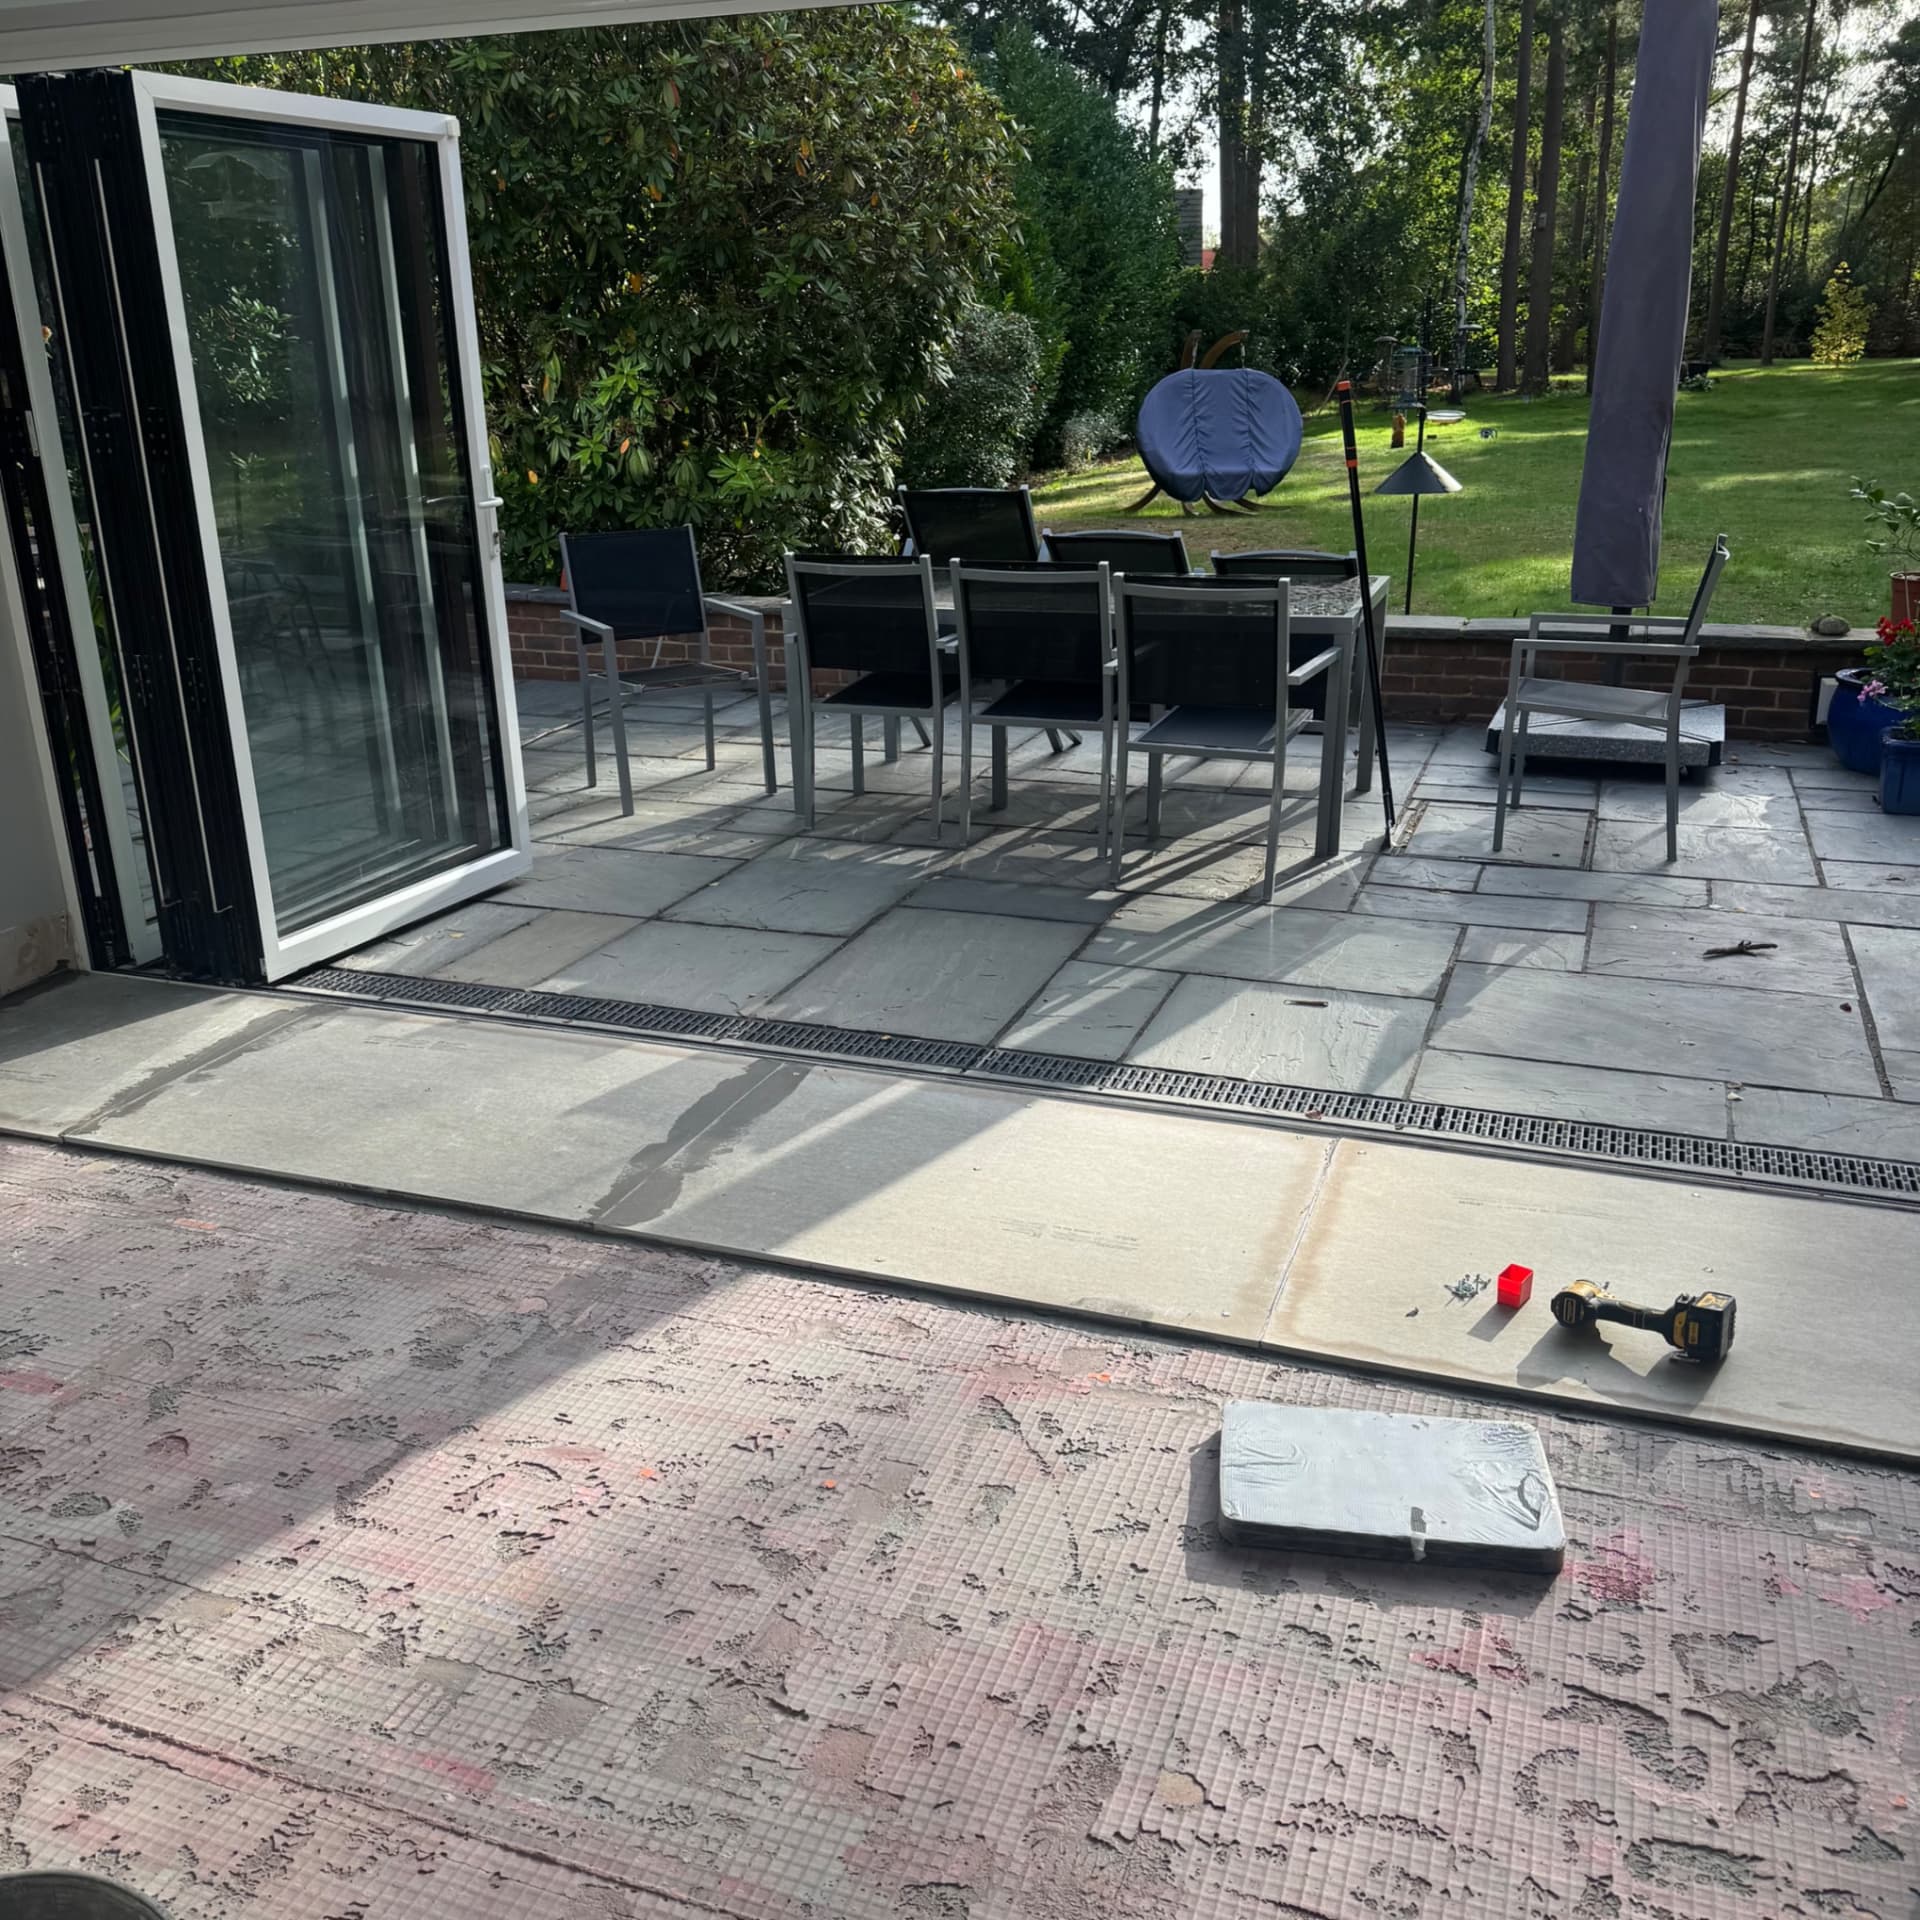
We've got the old floor and ditra matting removed and ready for the new installation. We got lucky here where the previous adhesive wasn't fit for purpose, allowing us to pull up whole strips in one go and save ourselves a fair bit of time. Unfortunately for the customer, using the wrong materials is exactly why their floor was cracking in the first place, so we're making sure we do this one properly from the start.
October 2026
 In progress
We've started laying the cement boards using S2 adhesive for extra strength, and we're screwing them down to get everything as level as possible. The boards need priming on both sides to remove the dust and ensure the adhesives and latex bond properly before we tile over them.
October 2026
 In progress
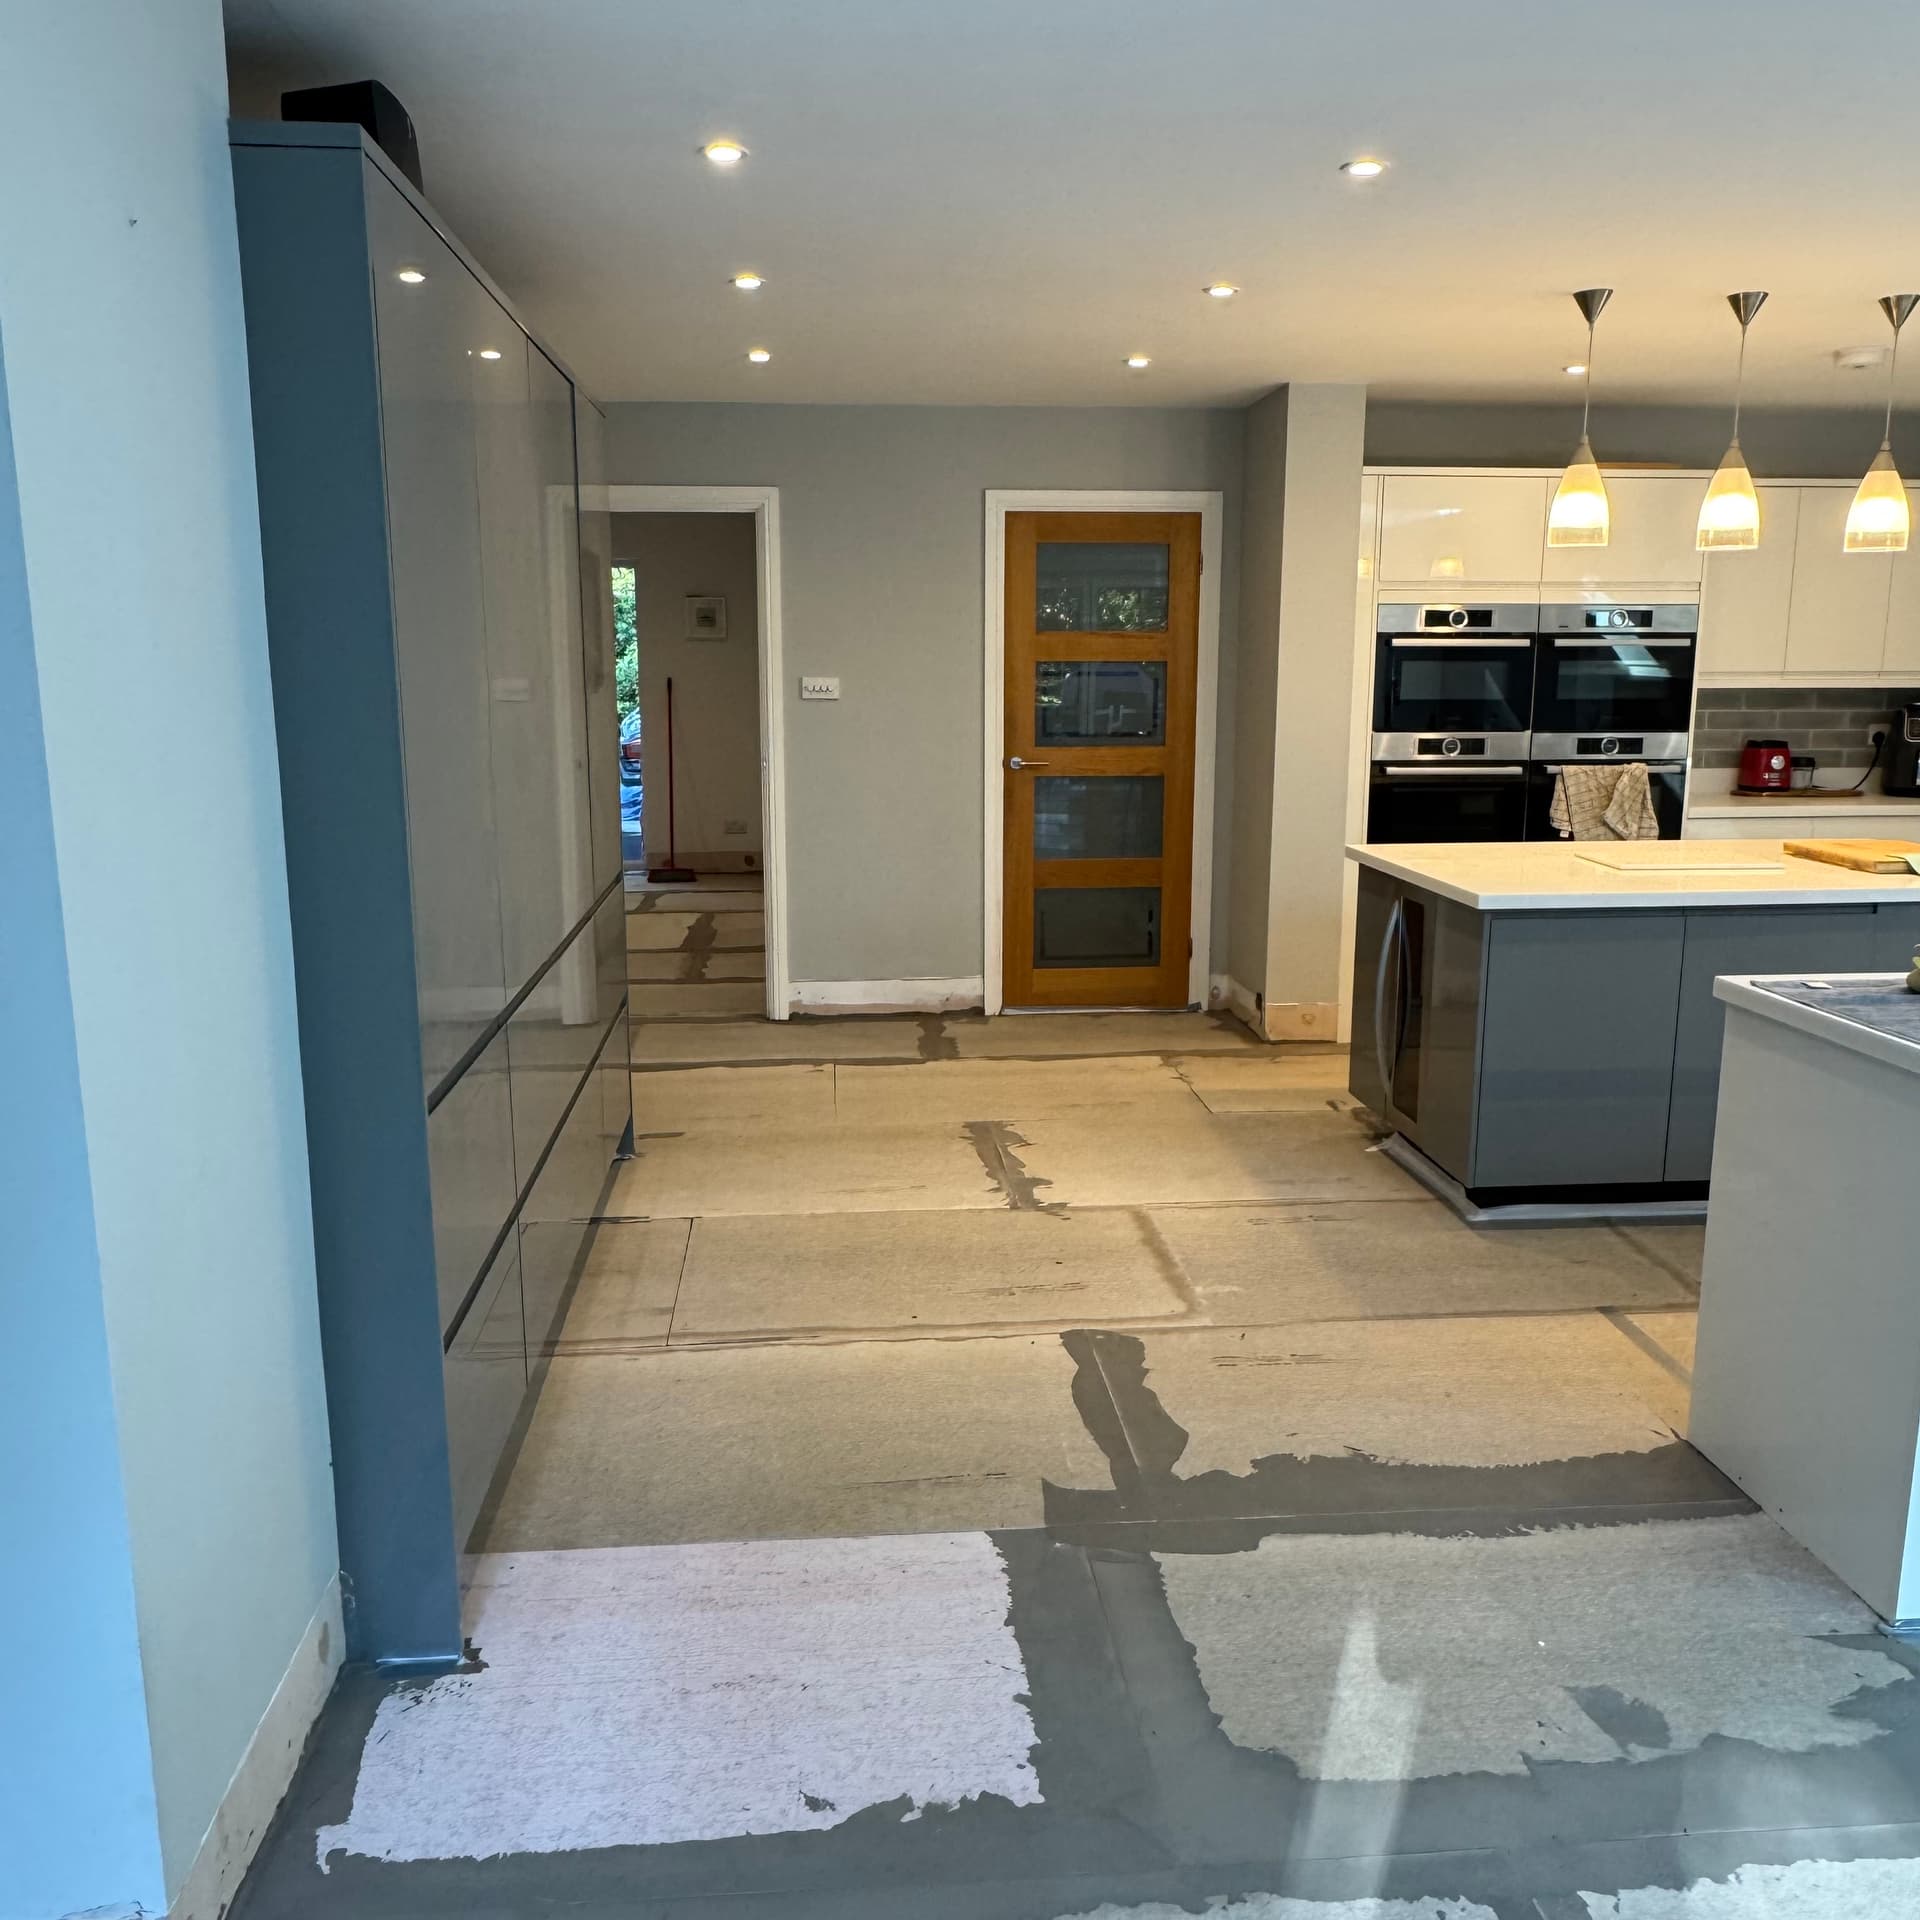
We've laid the cement boards and now we're getting ready for the self-levelling compound. You can see we've taped around the kitchen island edges and all the gaps and doorways to keep the latex flowing exactly where we need it. Next step is mixing and pouring the compound.
October 2026
 In progress
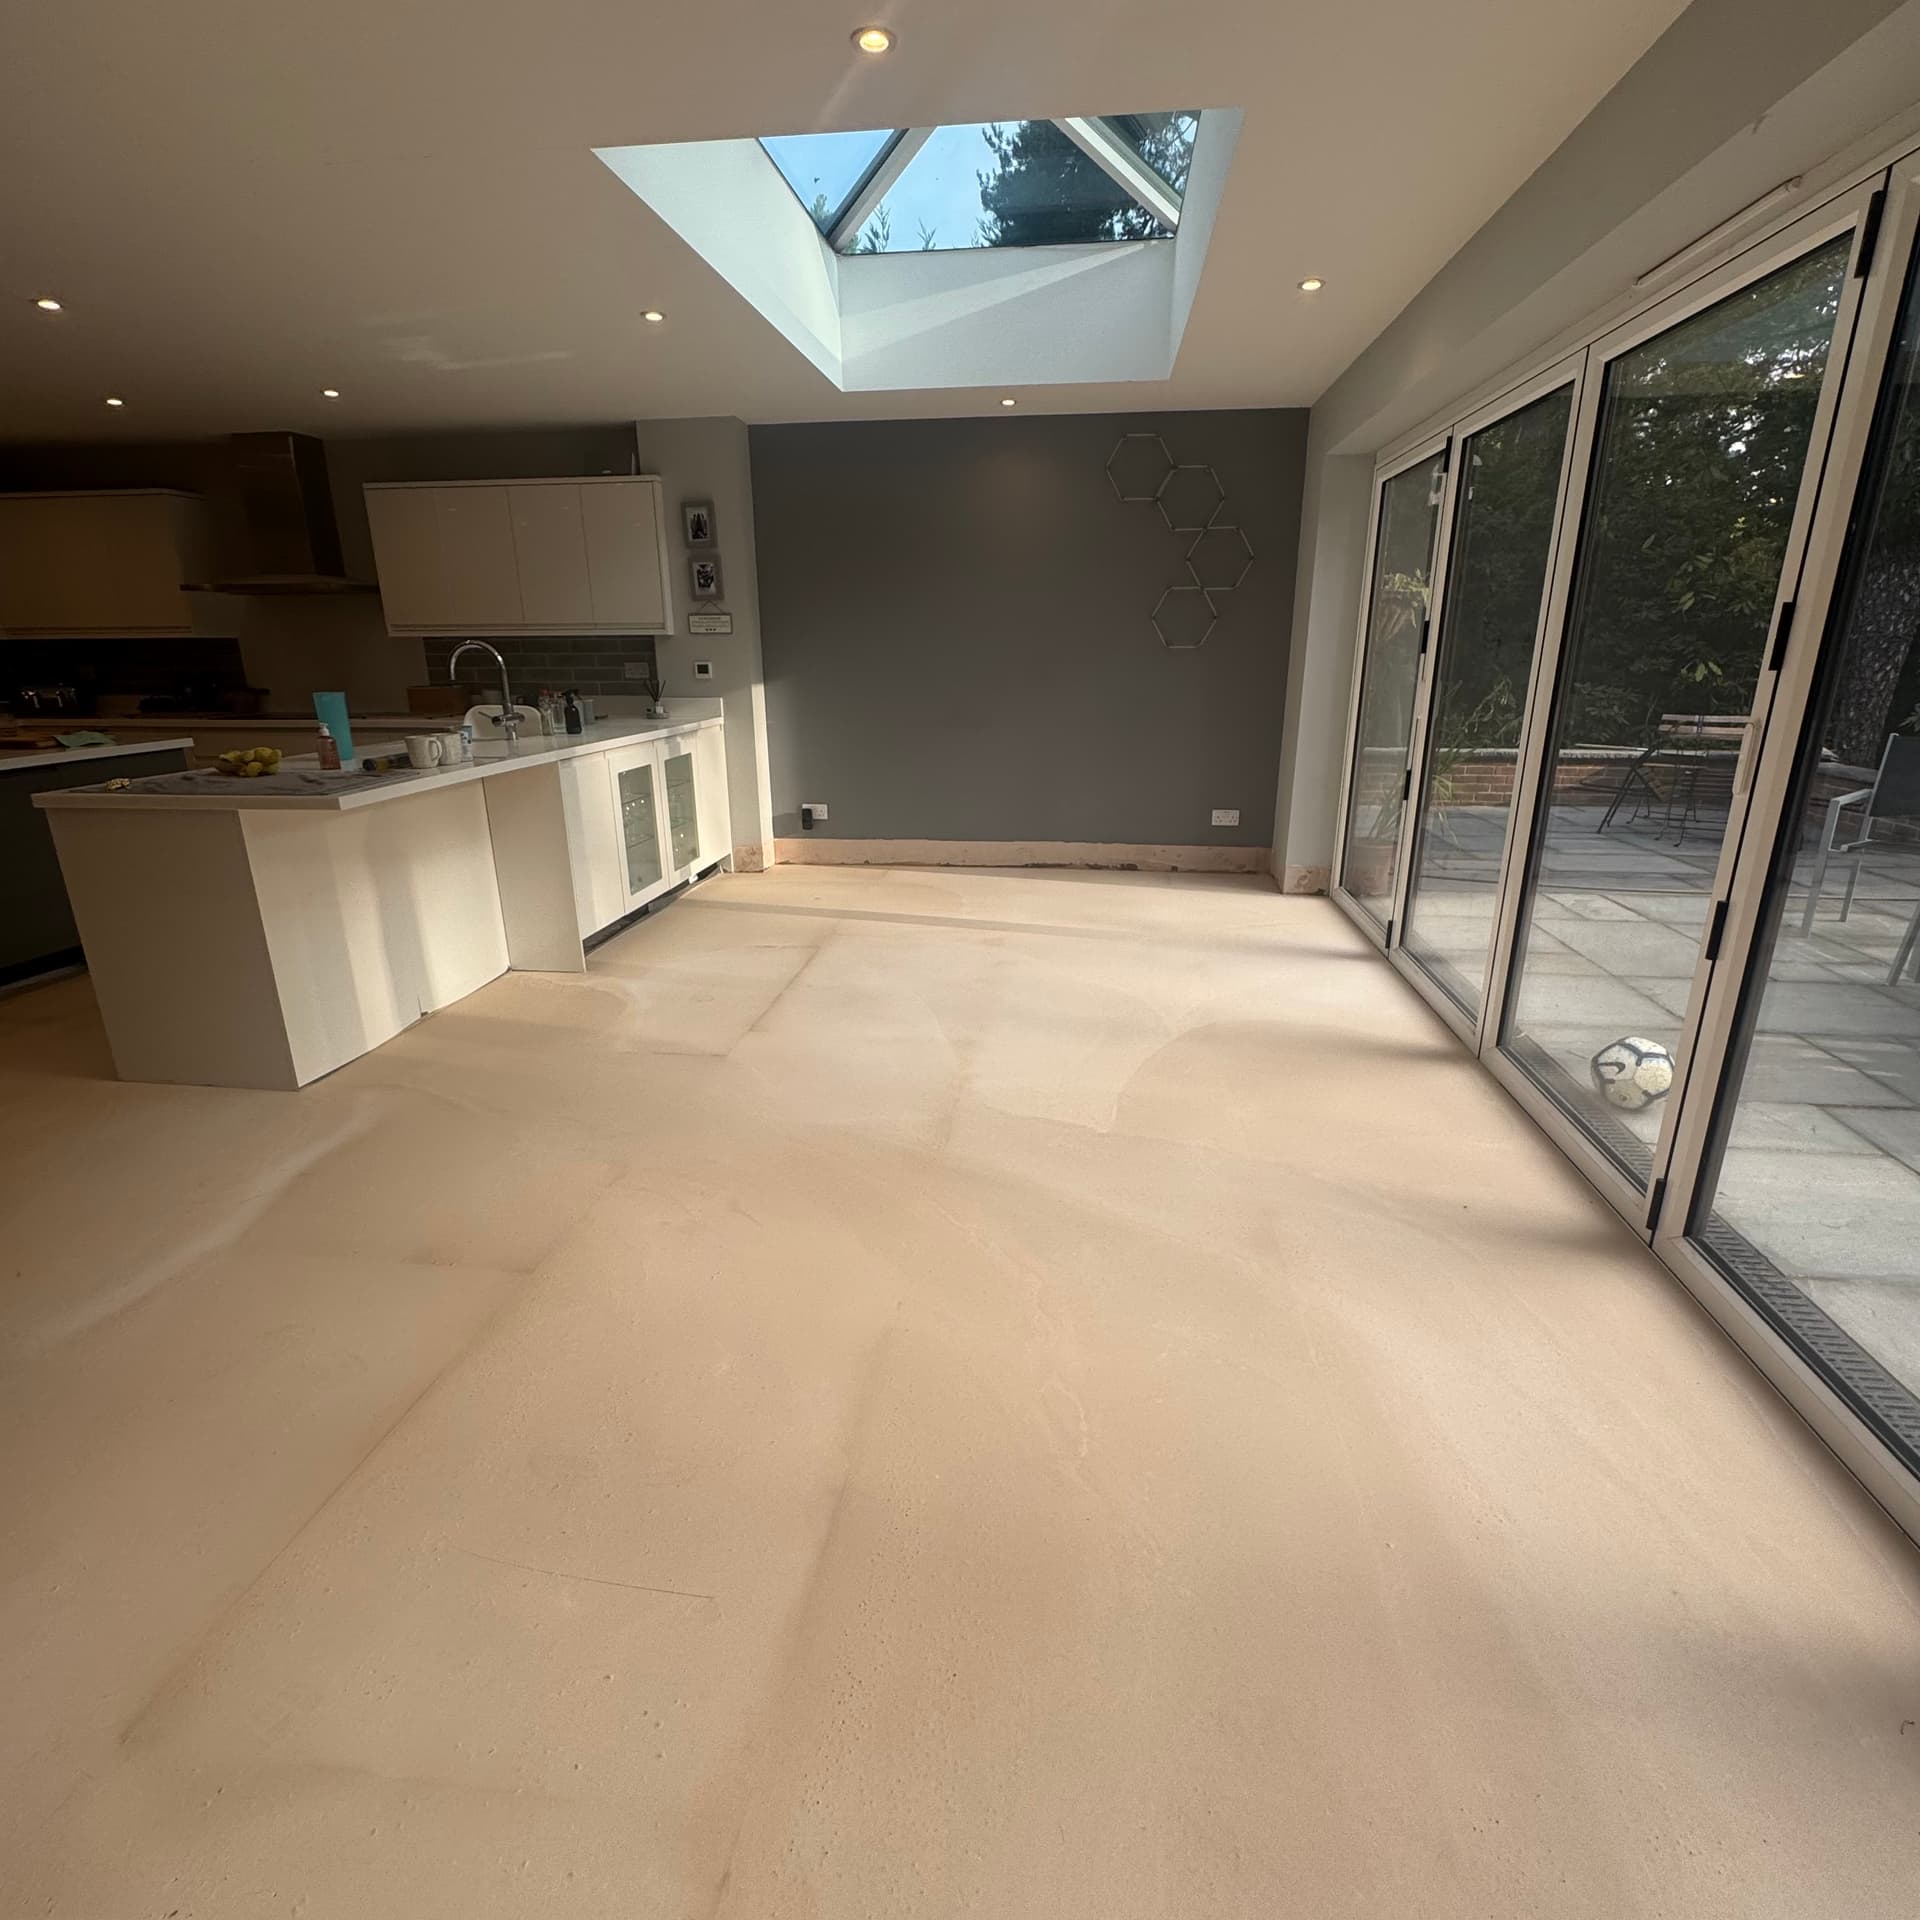
We've finished the latex and got a nice flat surface ready for tiling. Next up we'll prime the floor and set out the tiles diagonally, matching the garage conversion we tiled here a couple of years back.
October 2026
 In progress
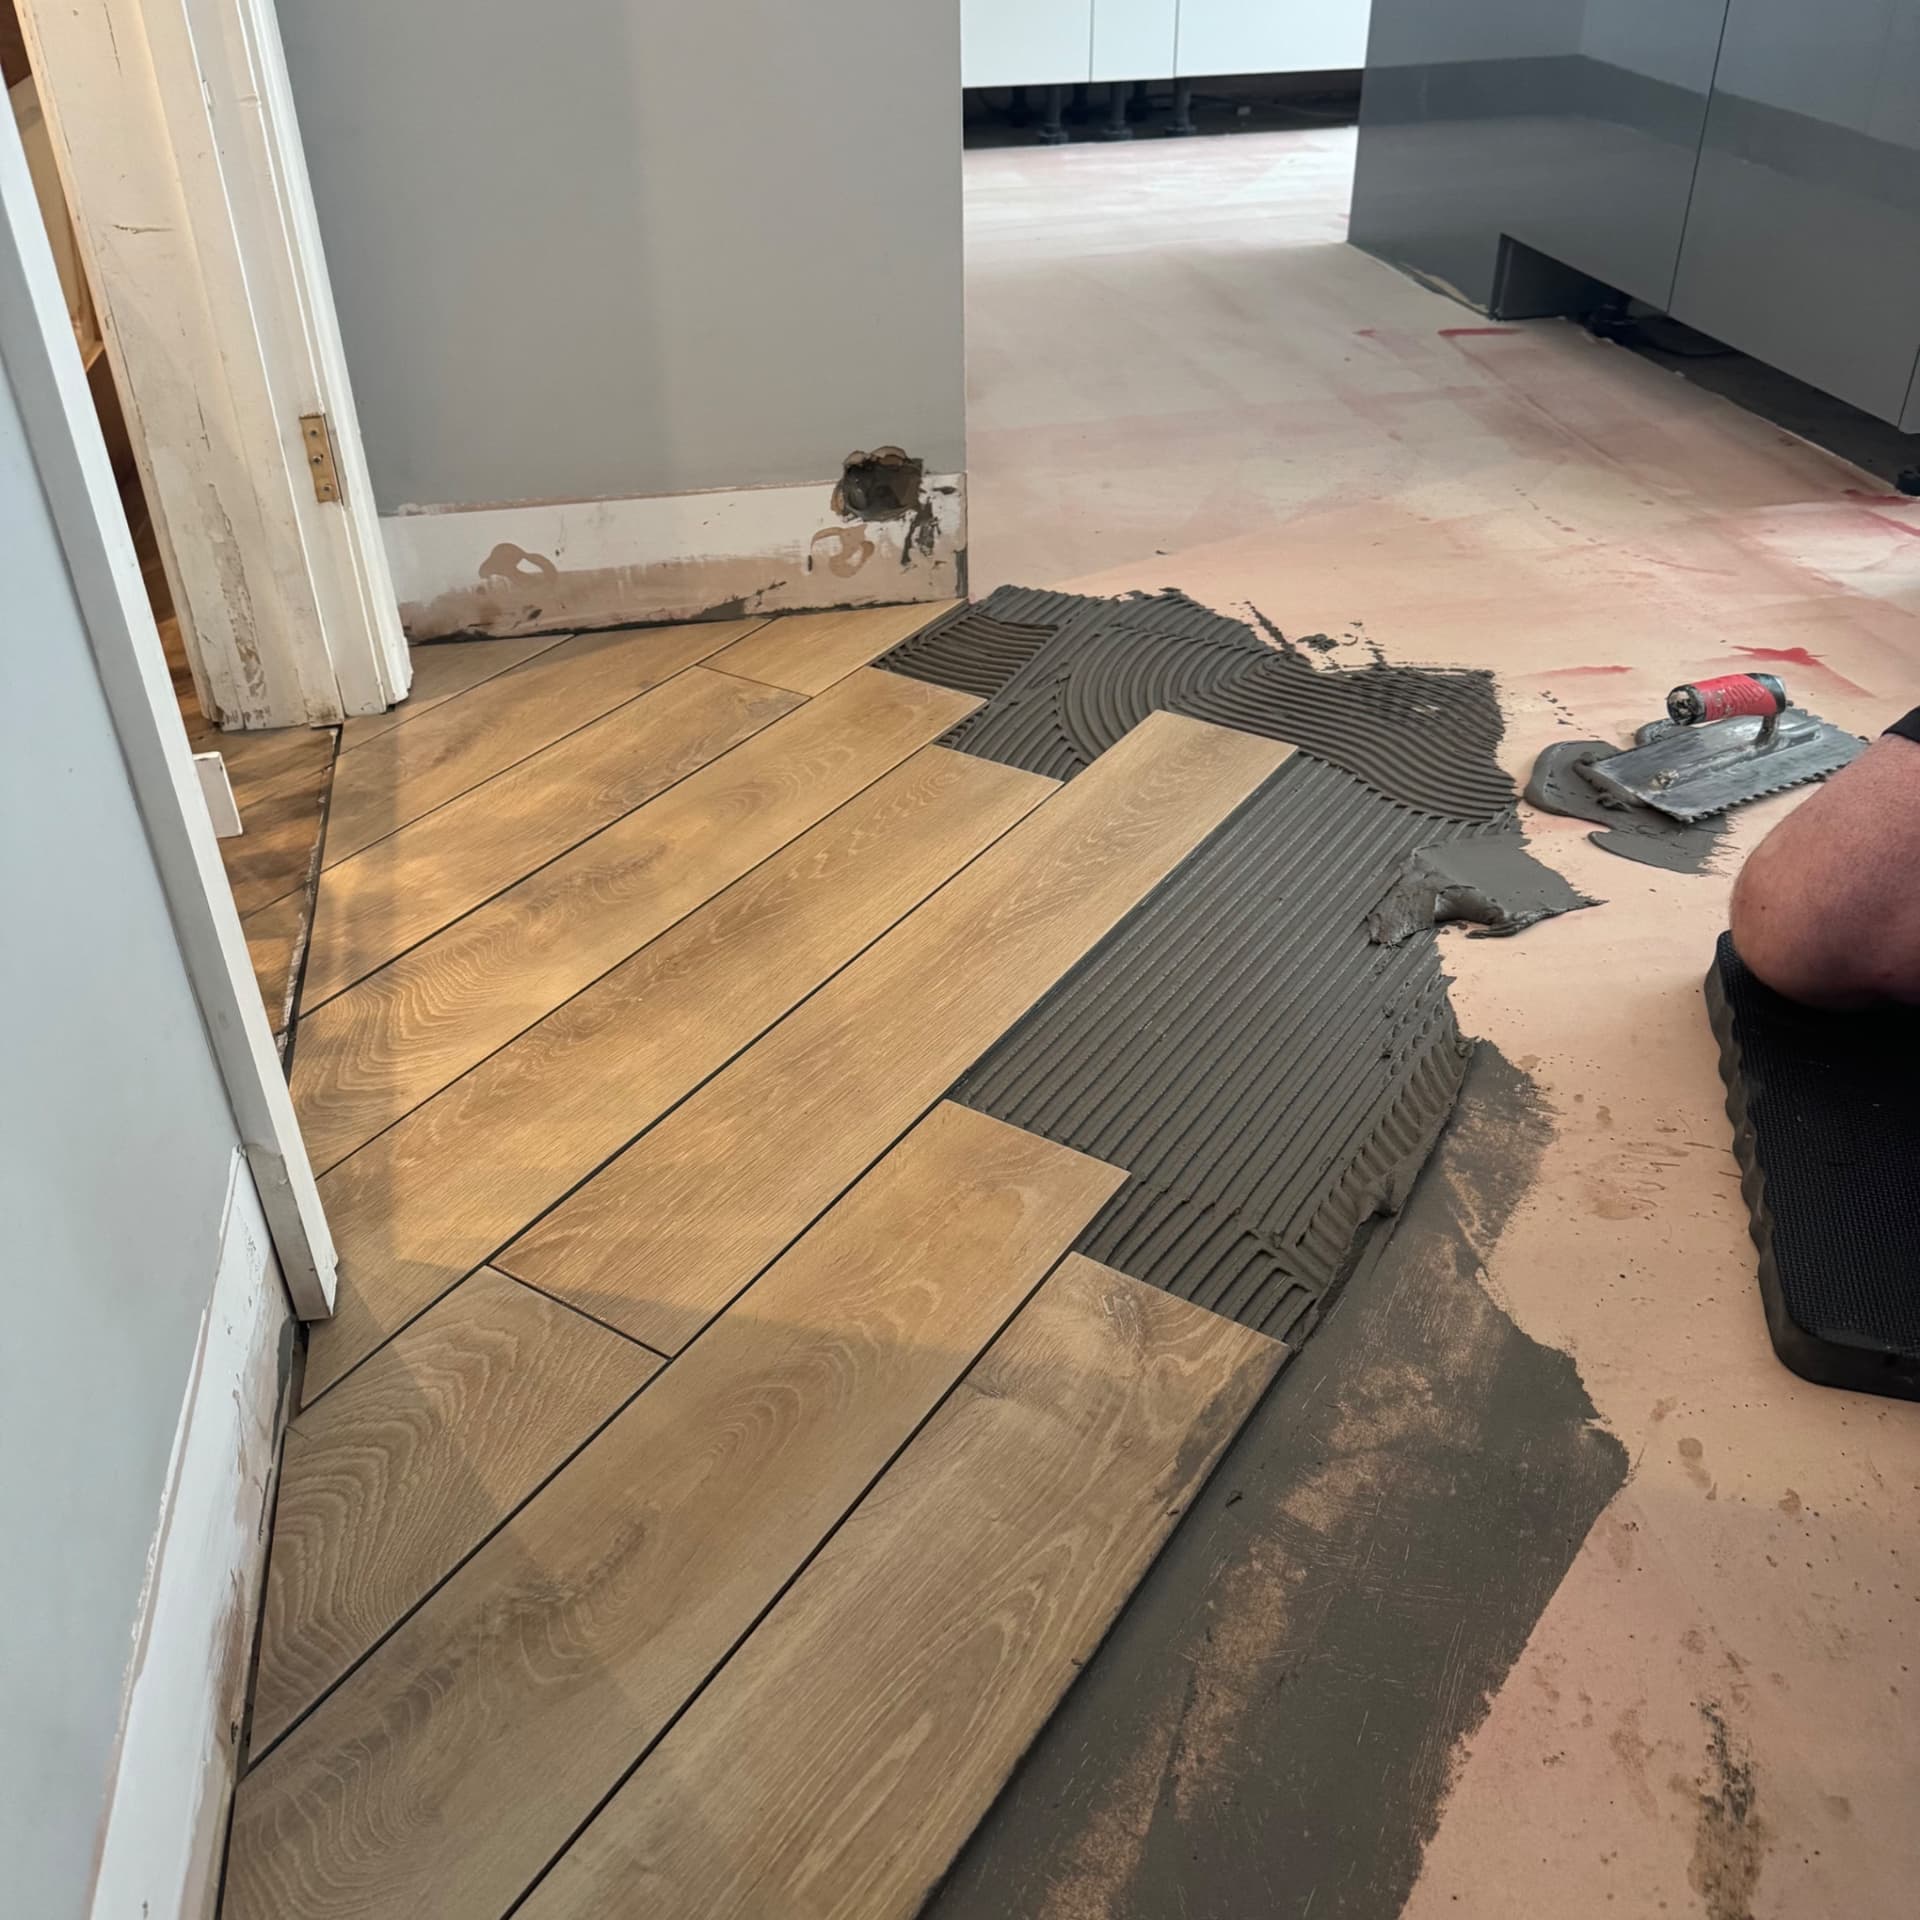
We've got the first tiles down and we're working our way out from the garage conversion floor we laid previously. The edges and doorways always take a bit longer to set out properly, but once we reach the open areas the pace picks up considerably.
October 2026
 In progress
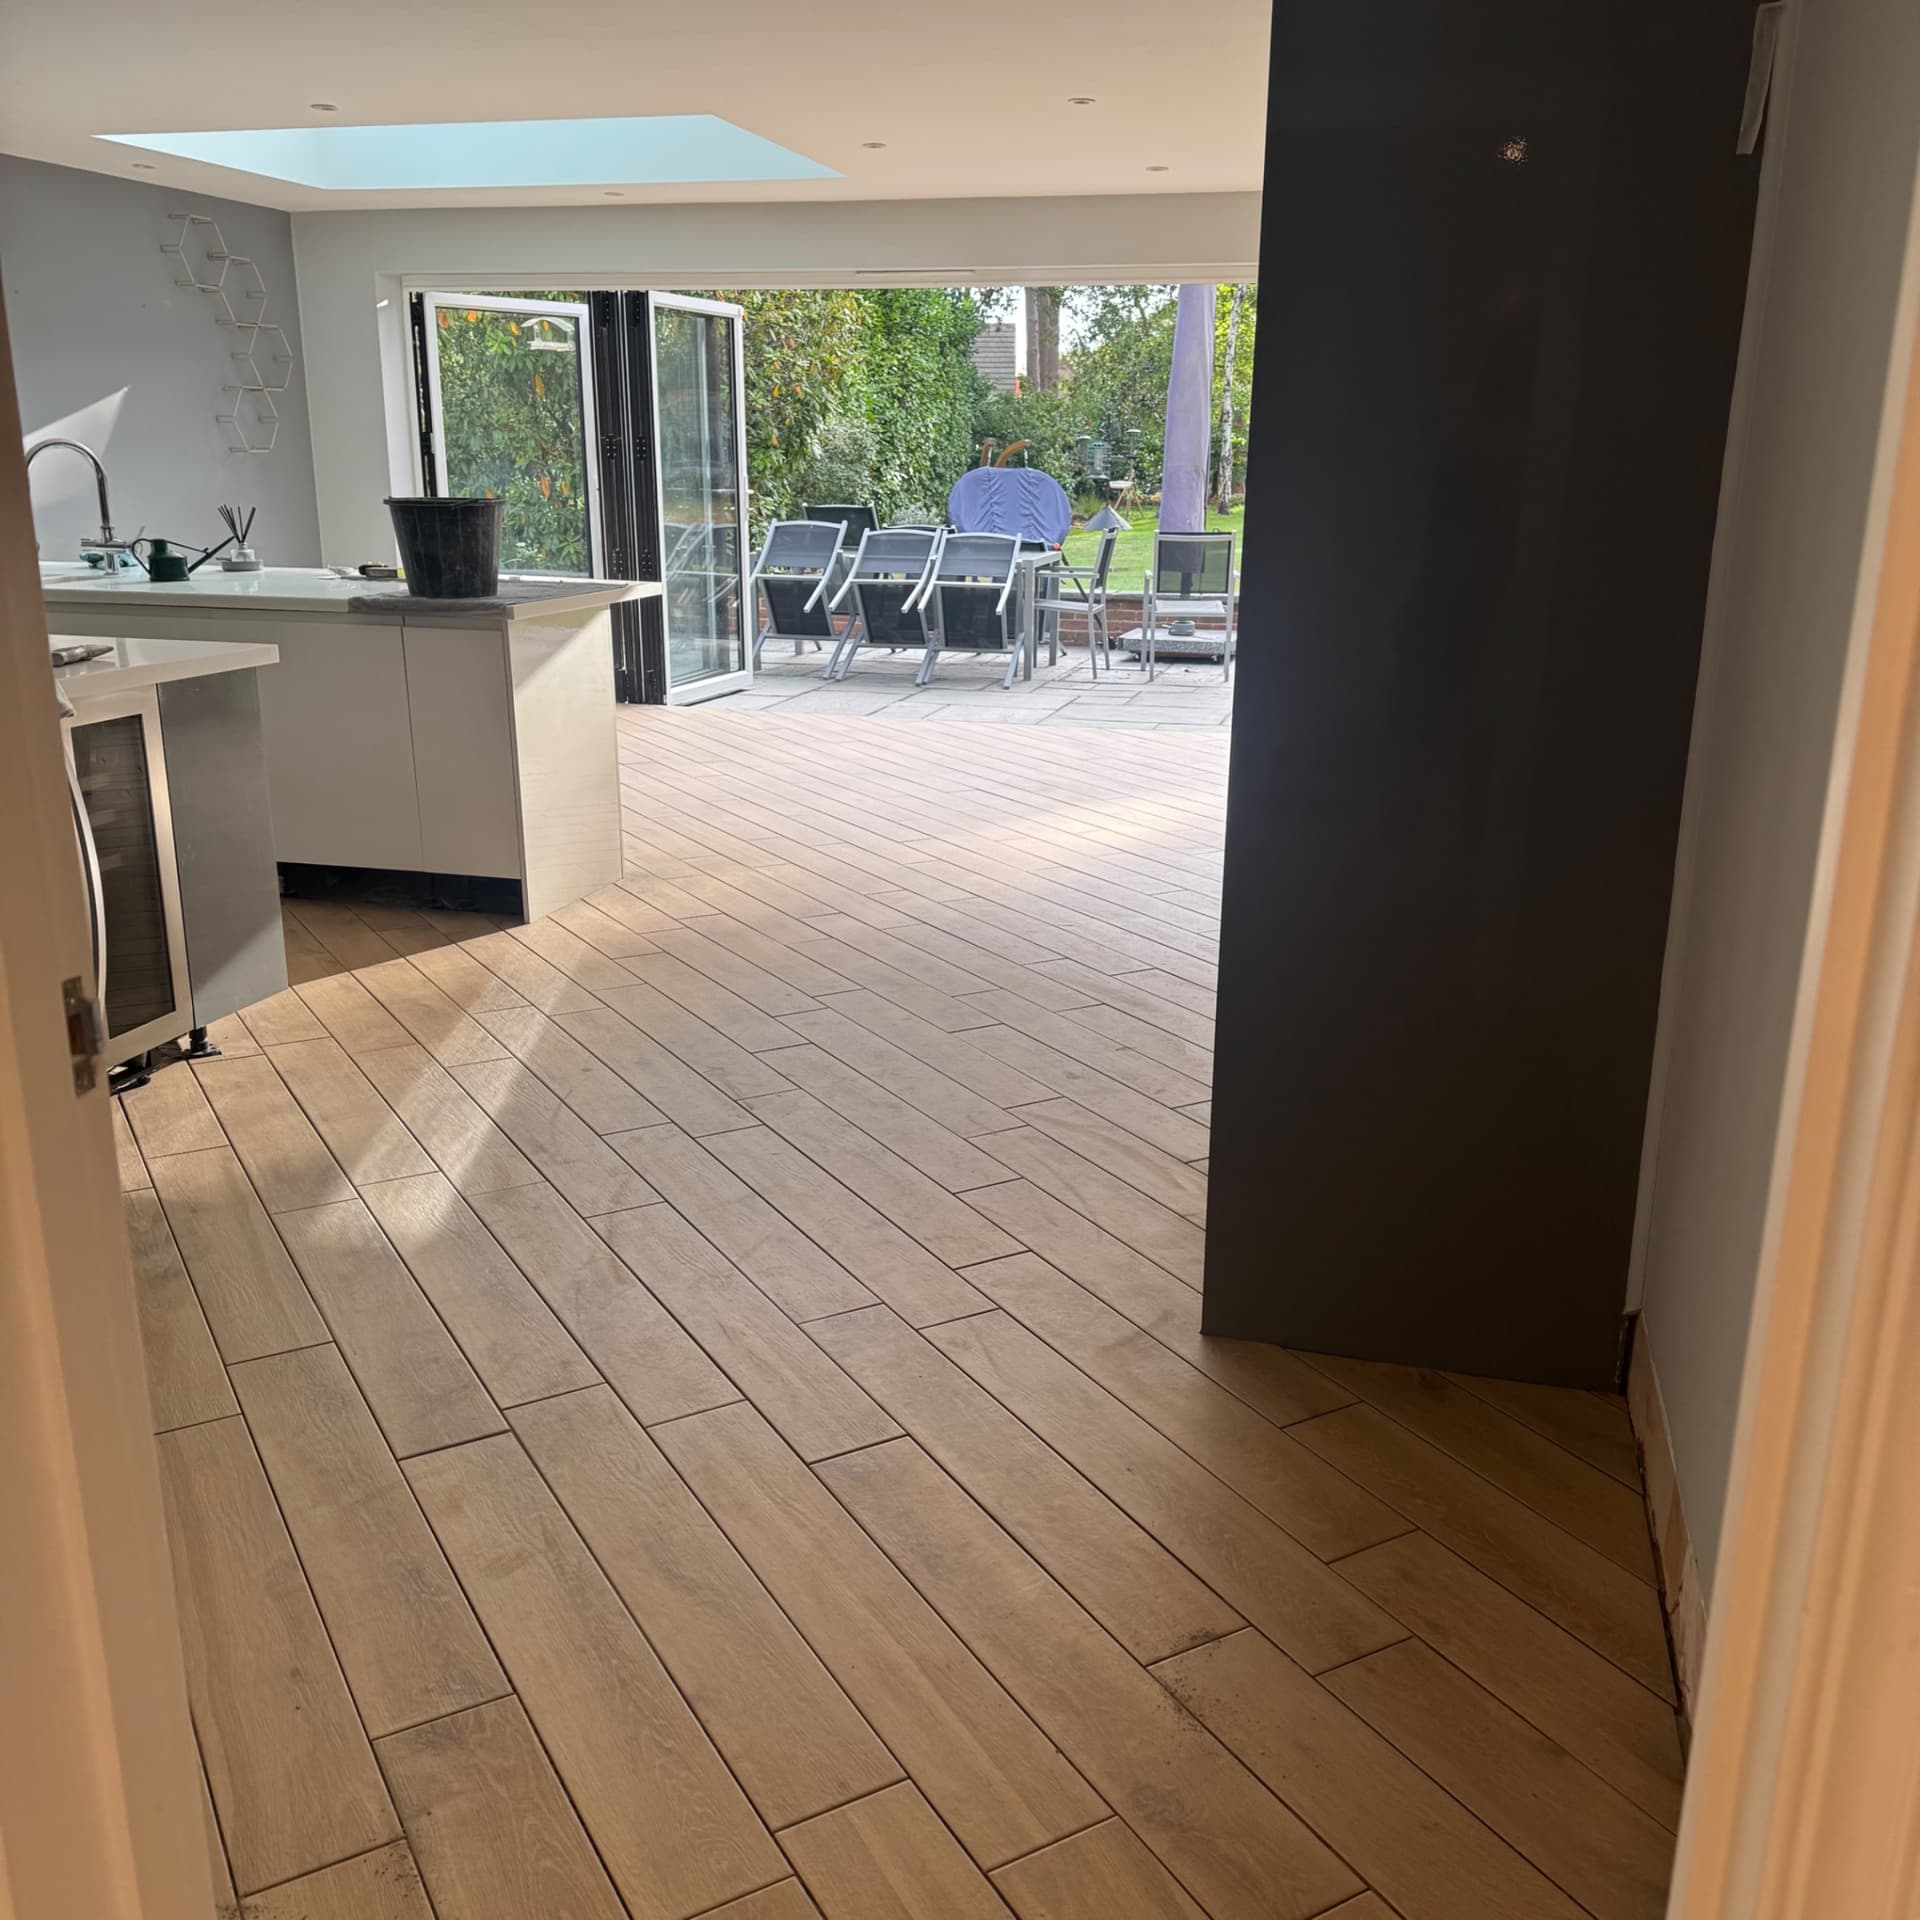
We've finished laying the tiles throughout this open plan space and we're really pleased with how the diagonal pattern works in the room. The wood-effect tiles flow beautifully from the kitchen through to the hallway and downstairs bathroom, and we'll be sharing more photos soon to show you the different areas we've completed.
October 2026
 In progress
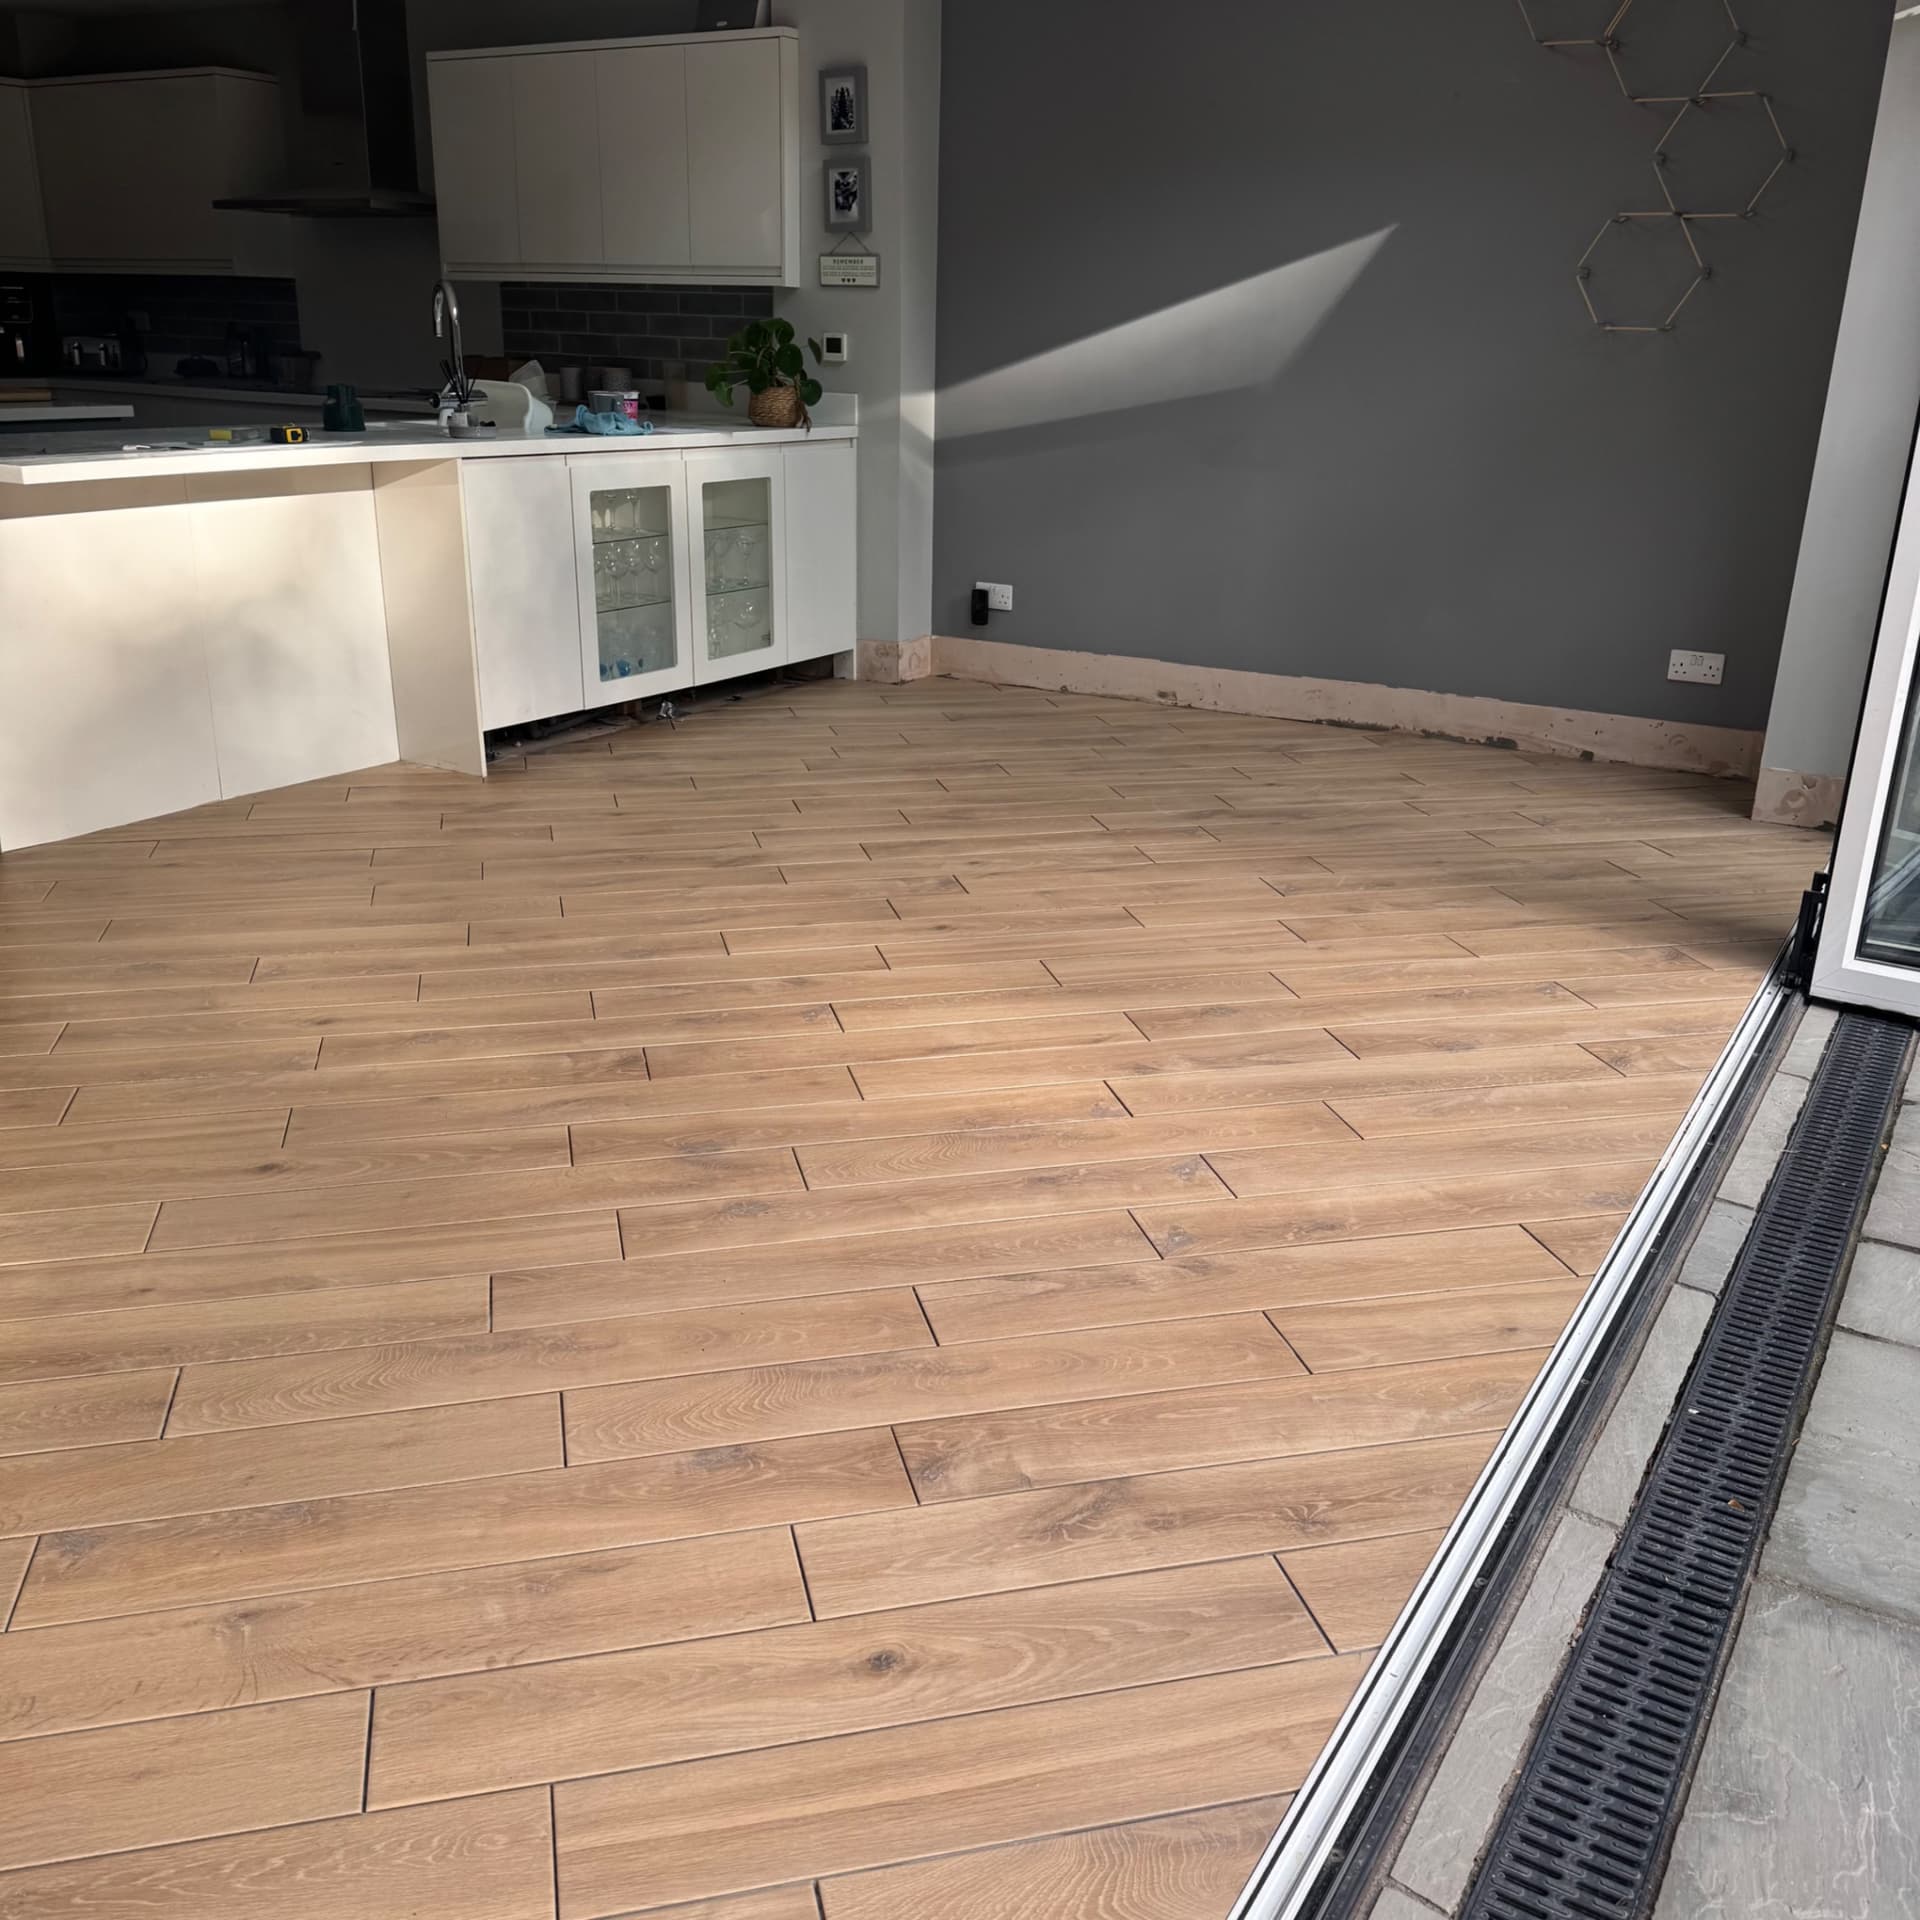
We've tiled right up to the bifold doors with a neat finish using edging trim, and we've adapted the layout to work around a height difference from when the doors were originally fitted. The result is a seamless look that works perfectly with the new kitchen space. Next step is the grouting.
October 2026
 In progress
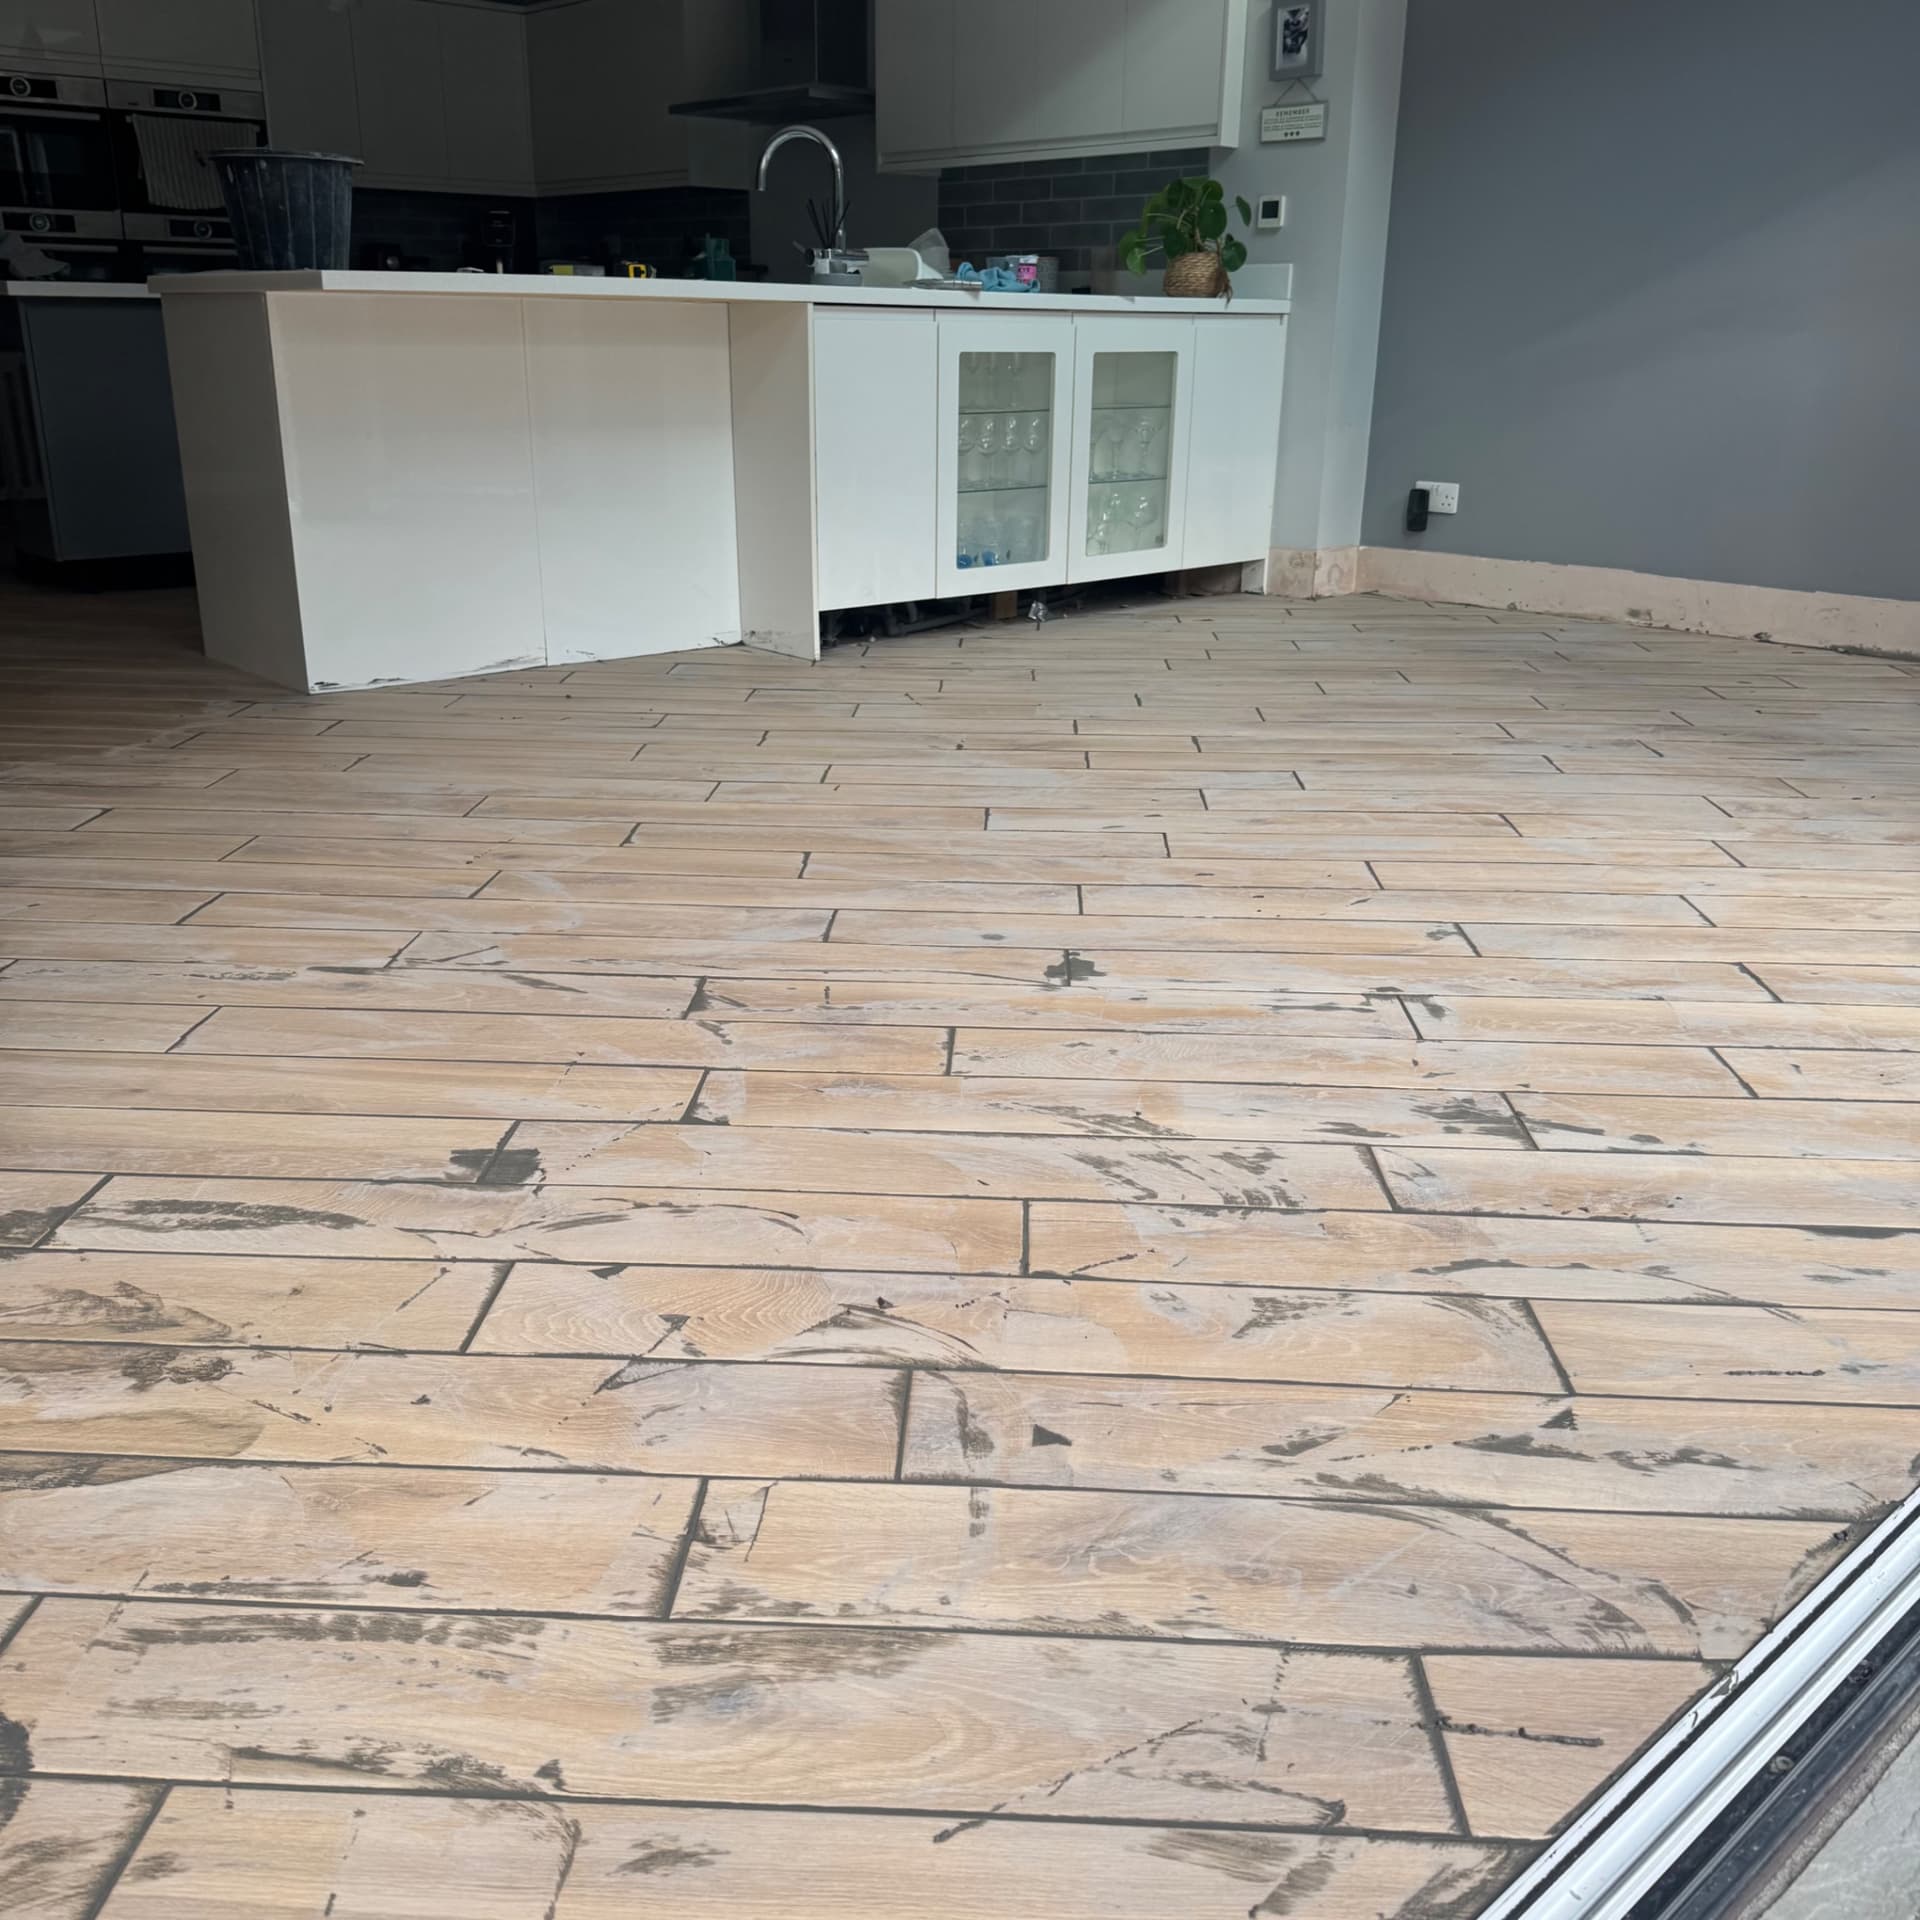
We're getting the grout in now, and there's plenty of joints to fill with this diagonal layout. We're using a grey Mapei grout which will dry considerably lighter than it looks when it's freshly applied, so the final finish will be a bit brighter than what you see here.
October 2026
 Finished
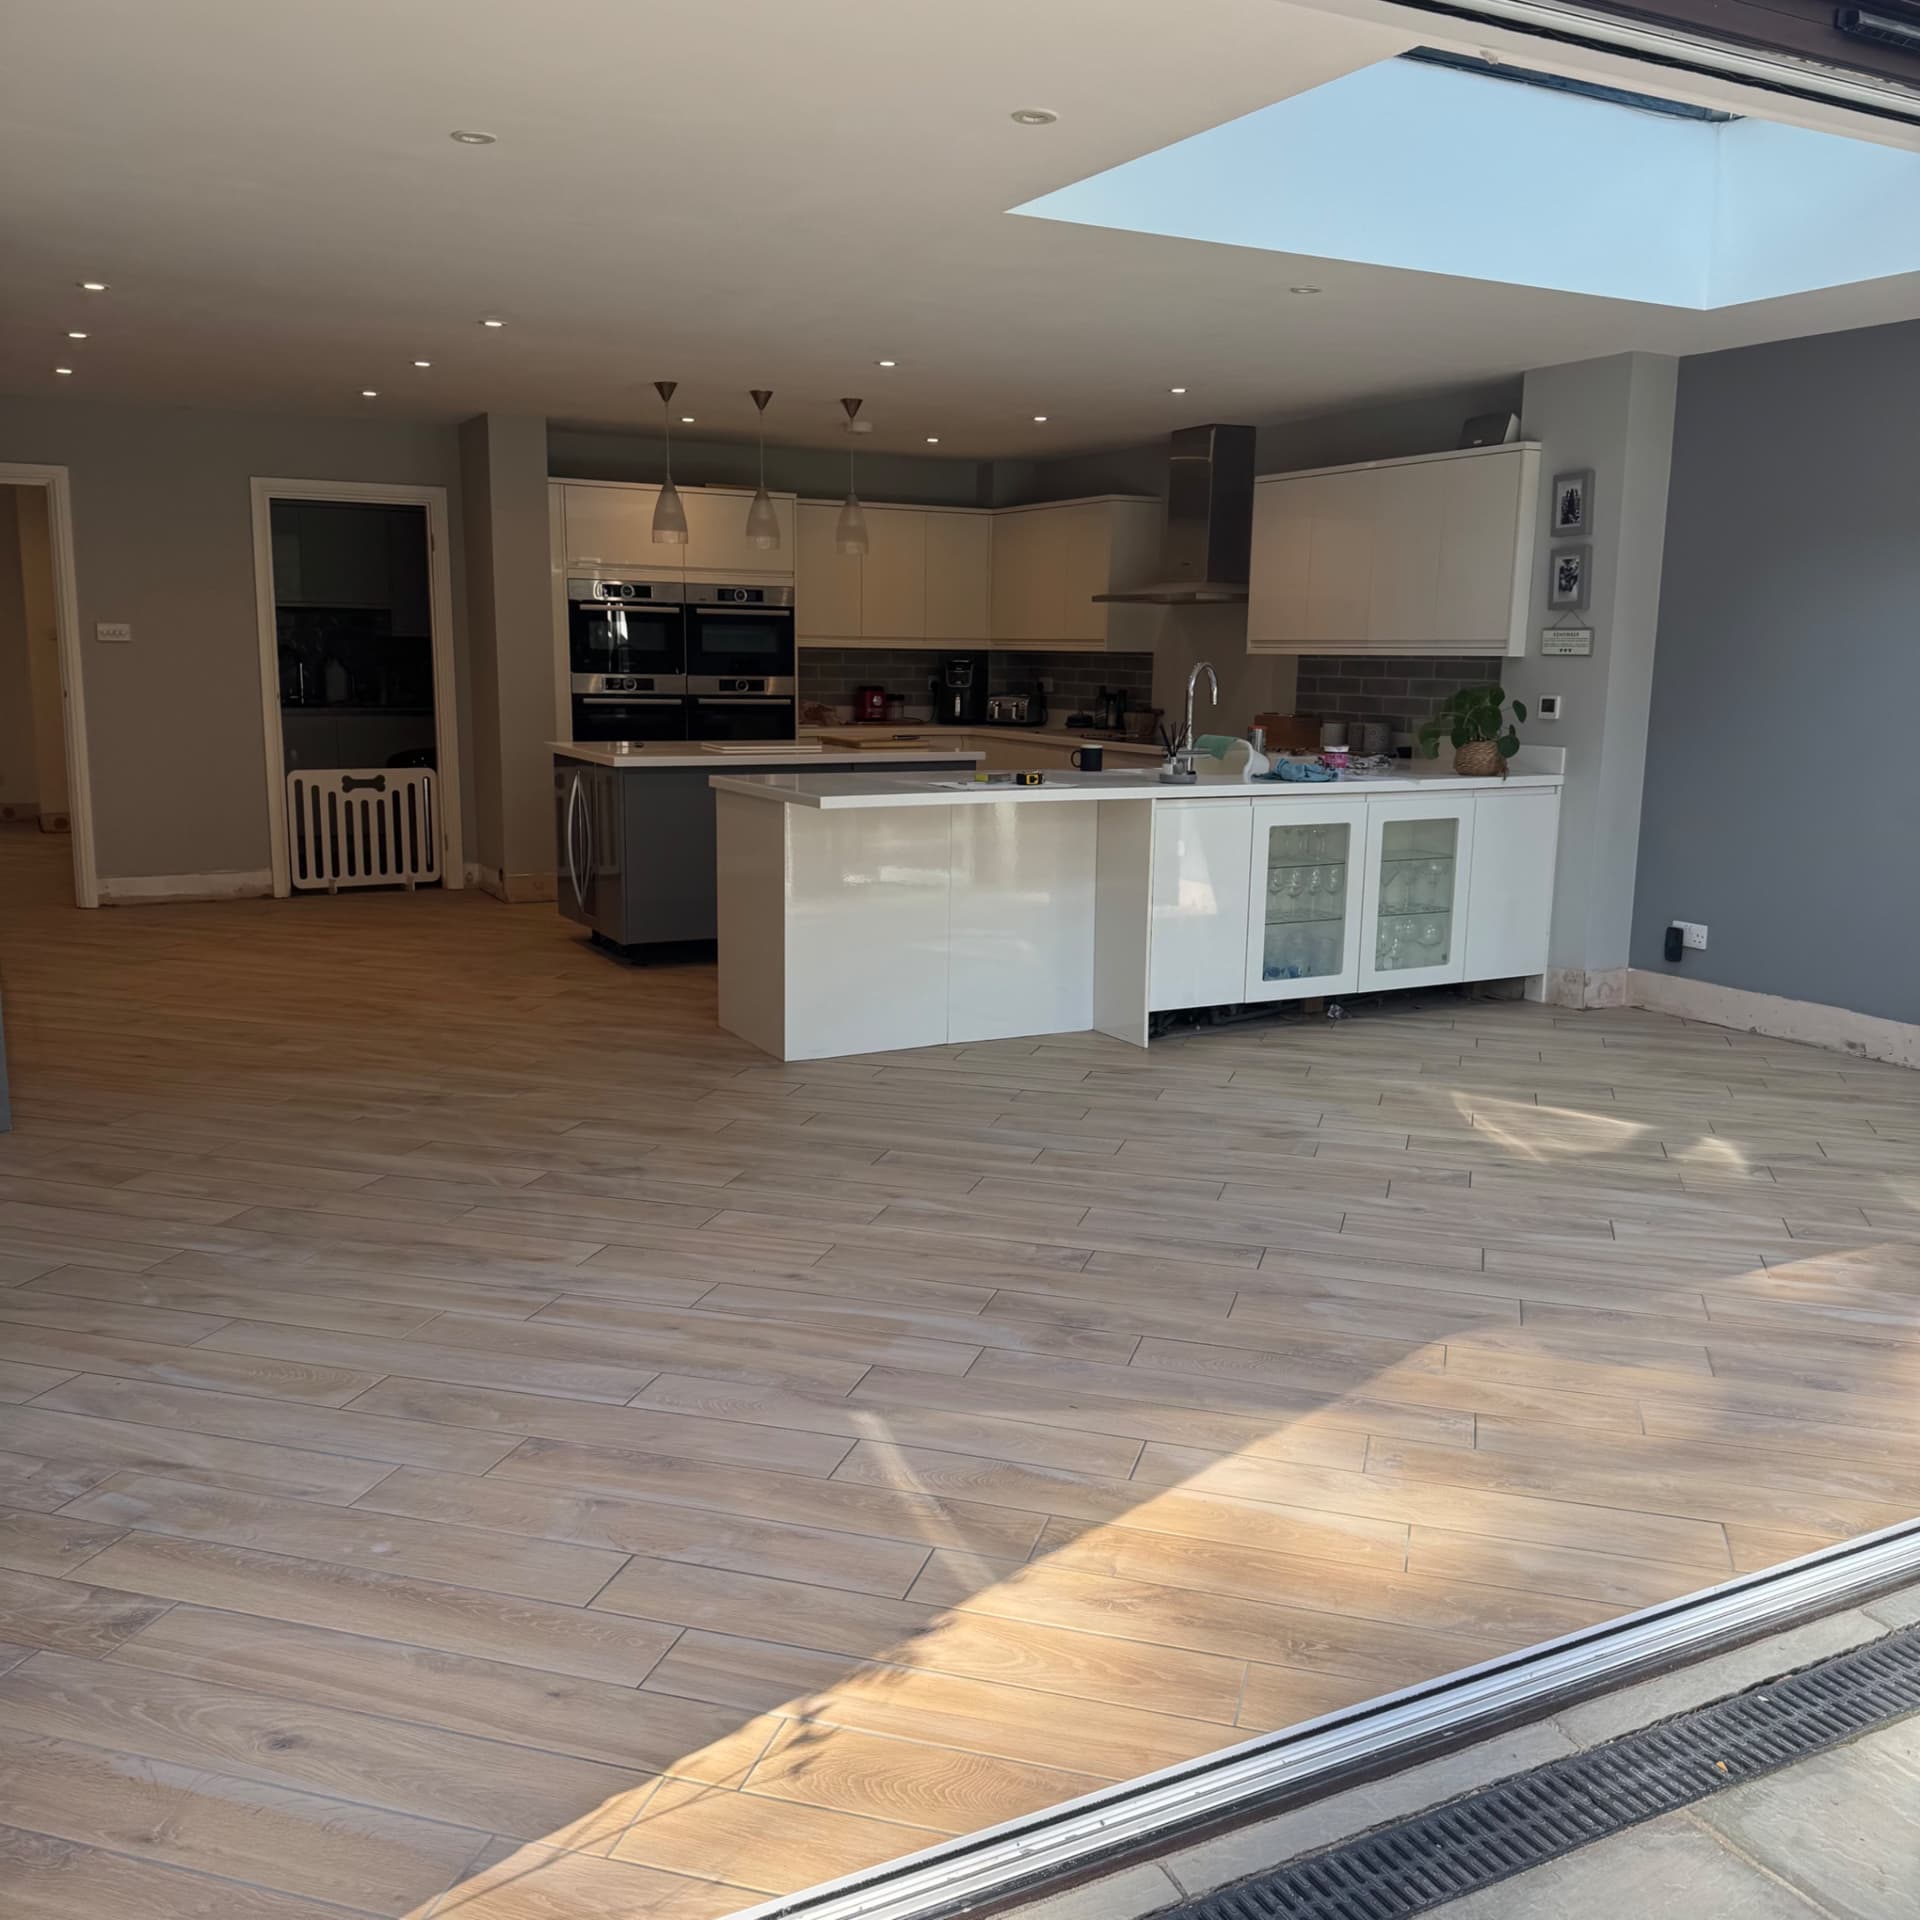
We've washed off the grout and the floor is looking clean with smooth joints throughout. There may be a bit of smearing at this stage, but once it's fully dried a quick mop will bring it up perfectly. We're delighted with how it's turned out, and most importantly so is the customer.
October 2026
 Finished
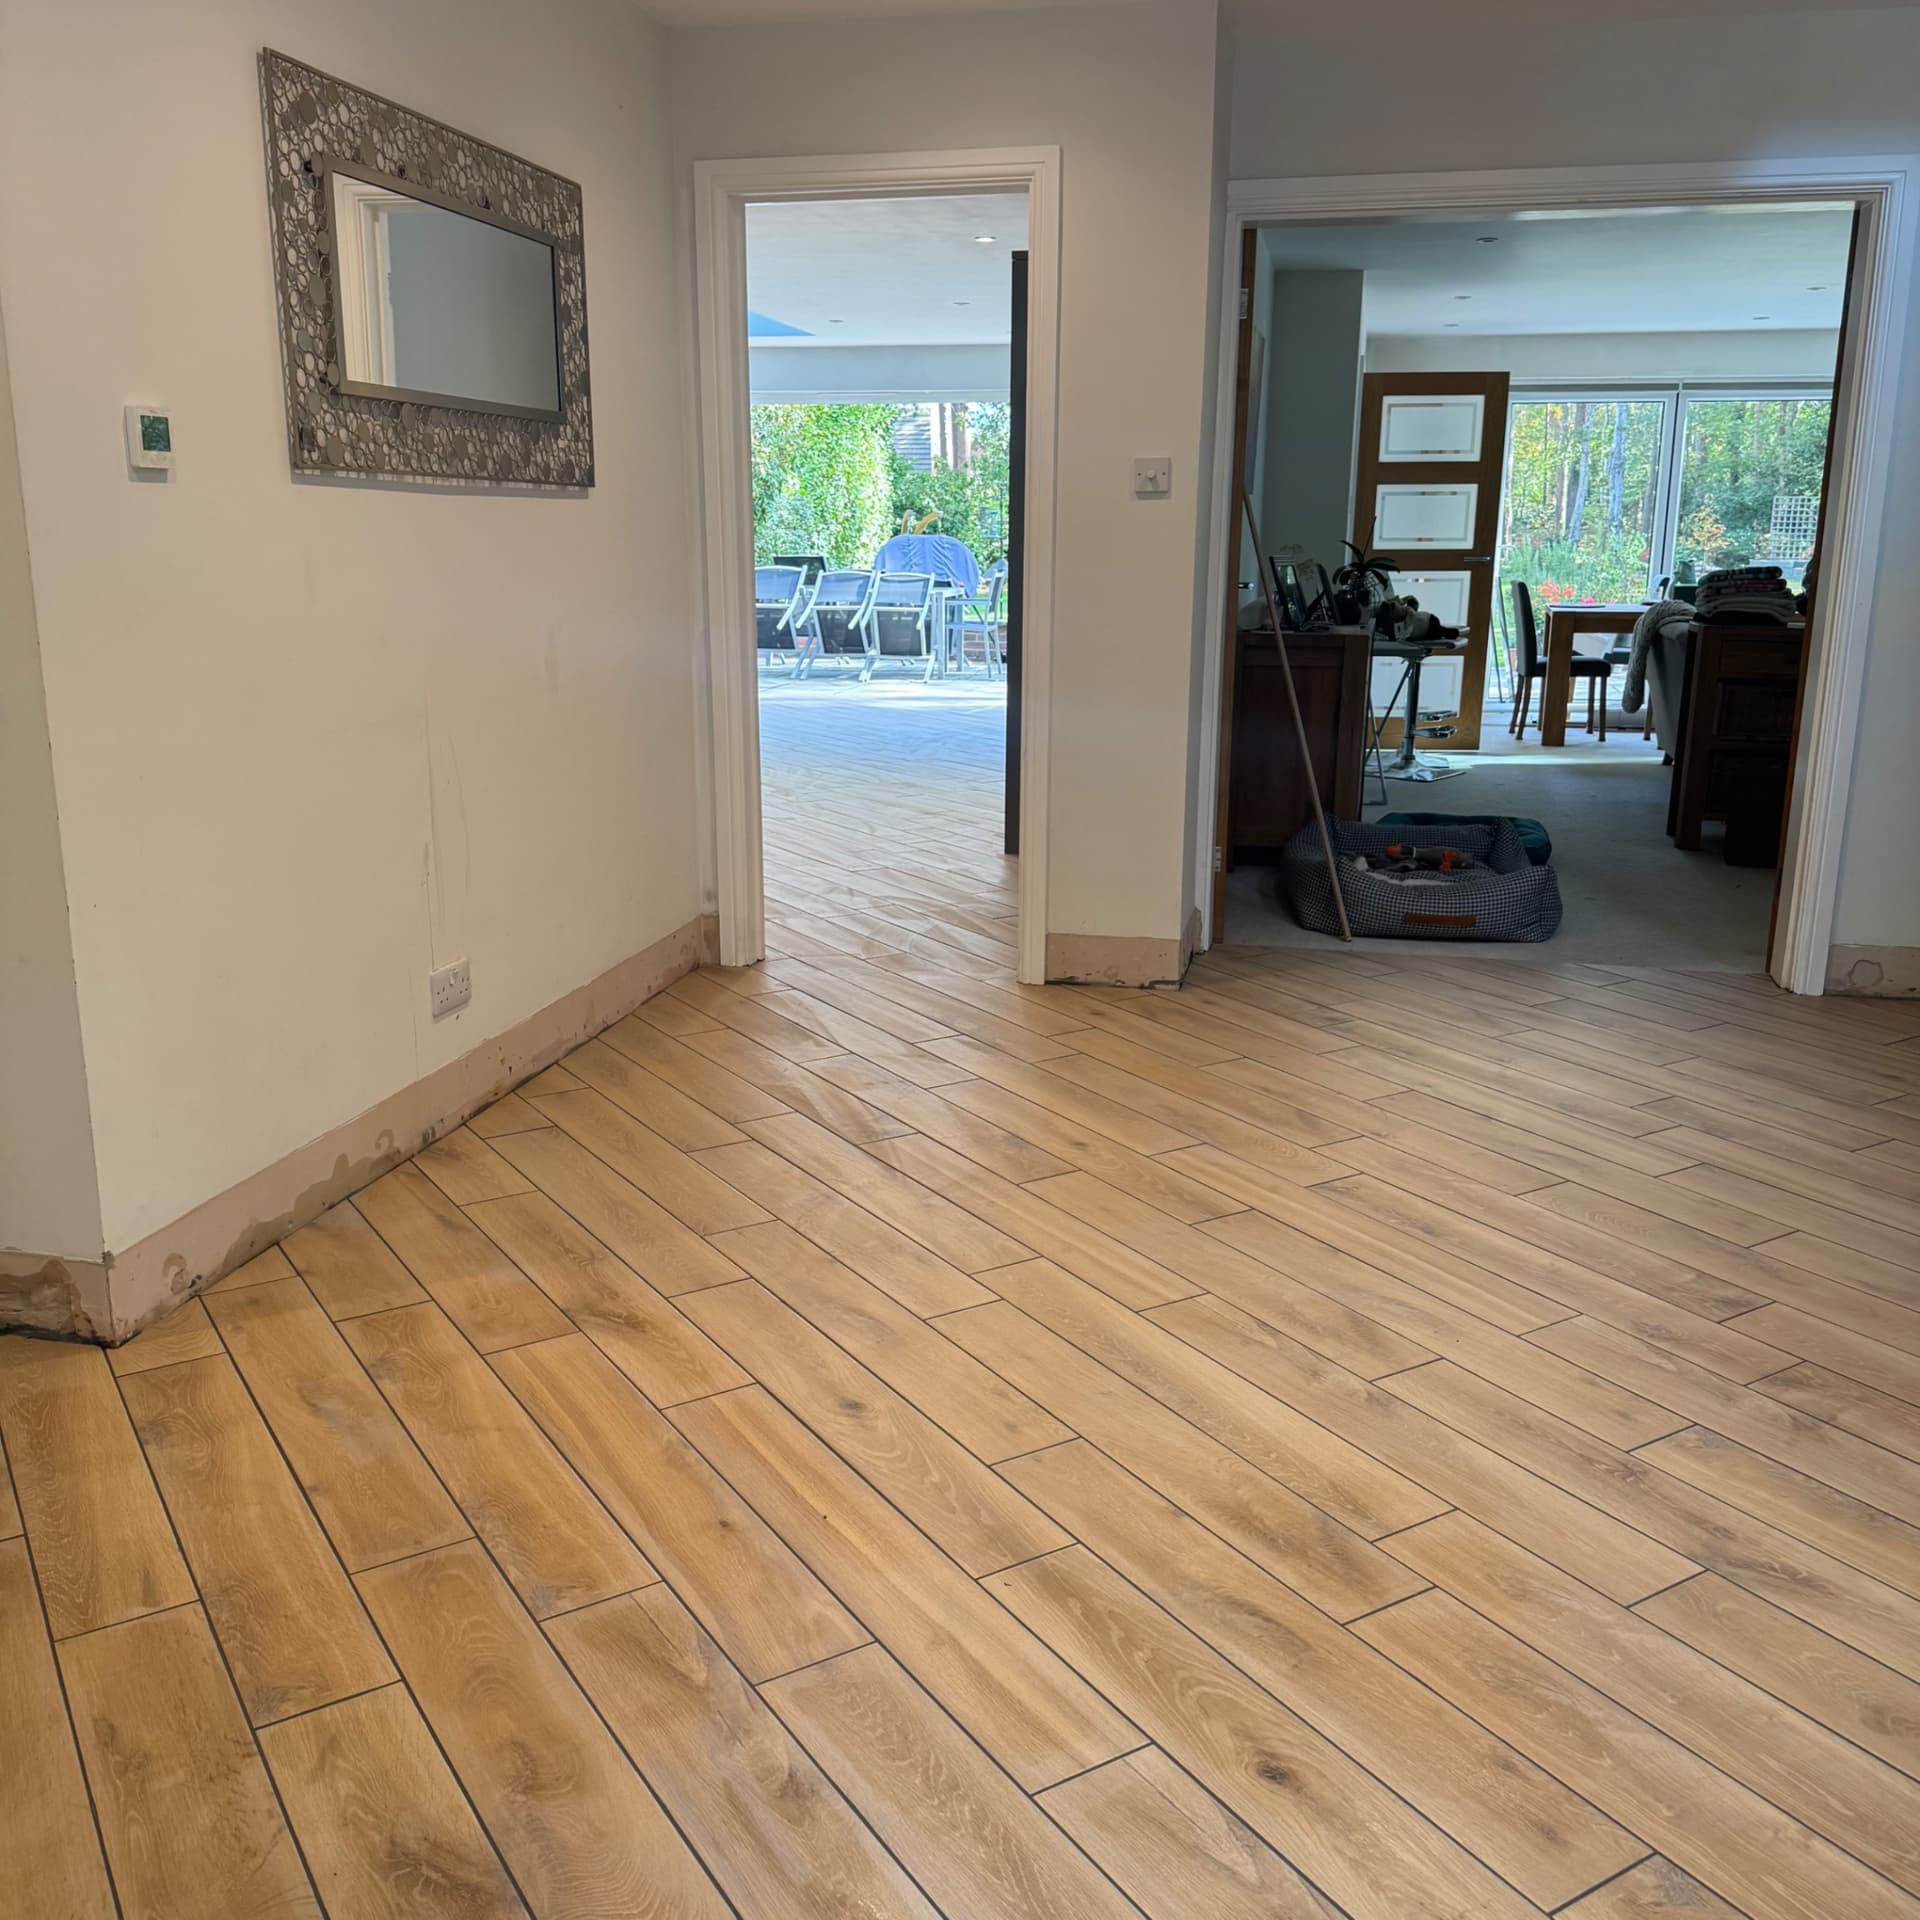
We've just washed off the grout and the hallway's looking good with the tiles running through into the kitchen. You can see the wet patches where we've cleaned up, and to the left the tiles continue into the WC as well.
October 2026
 Finished
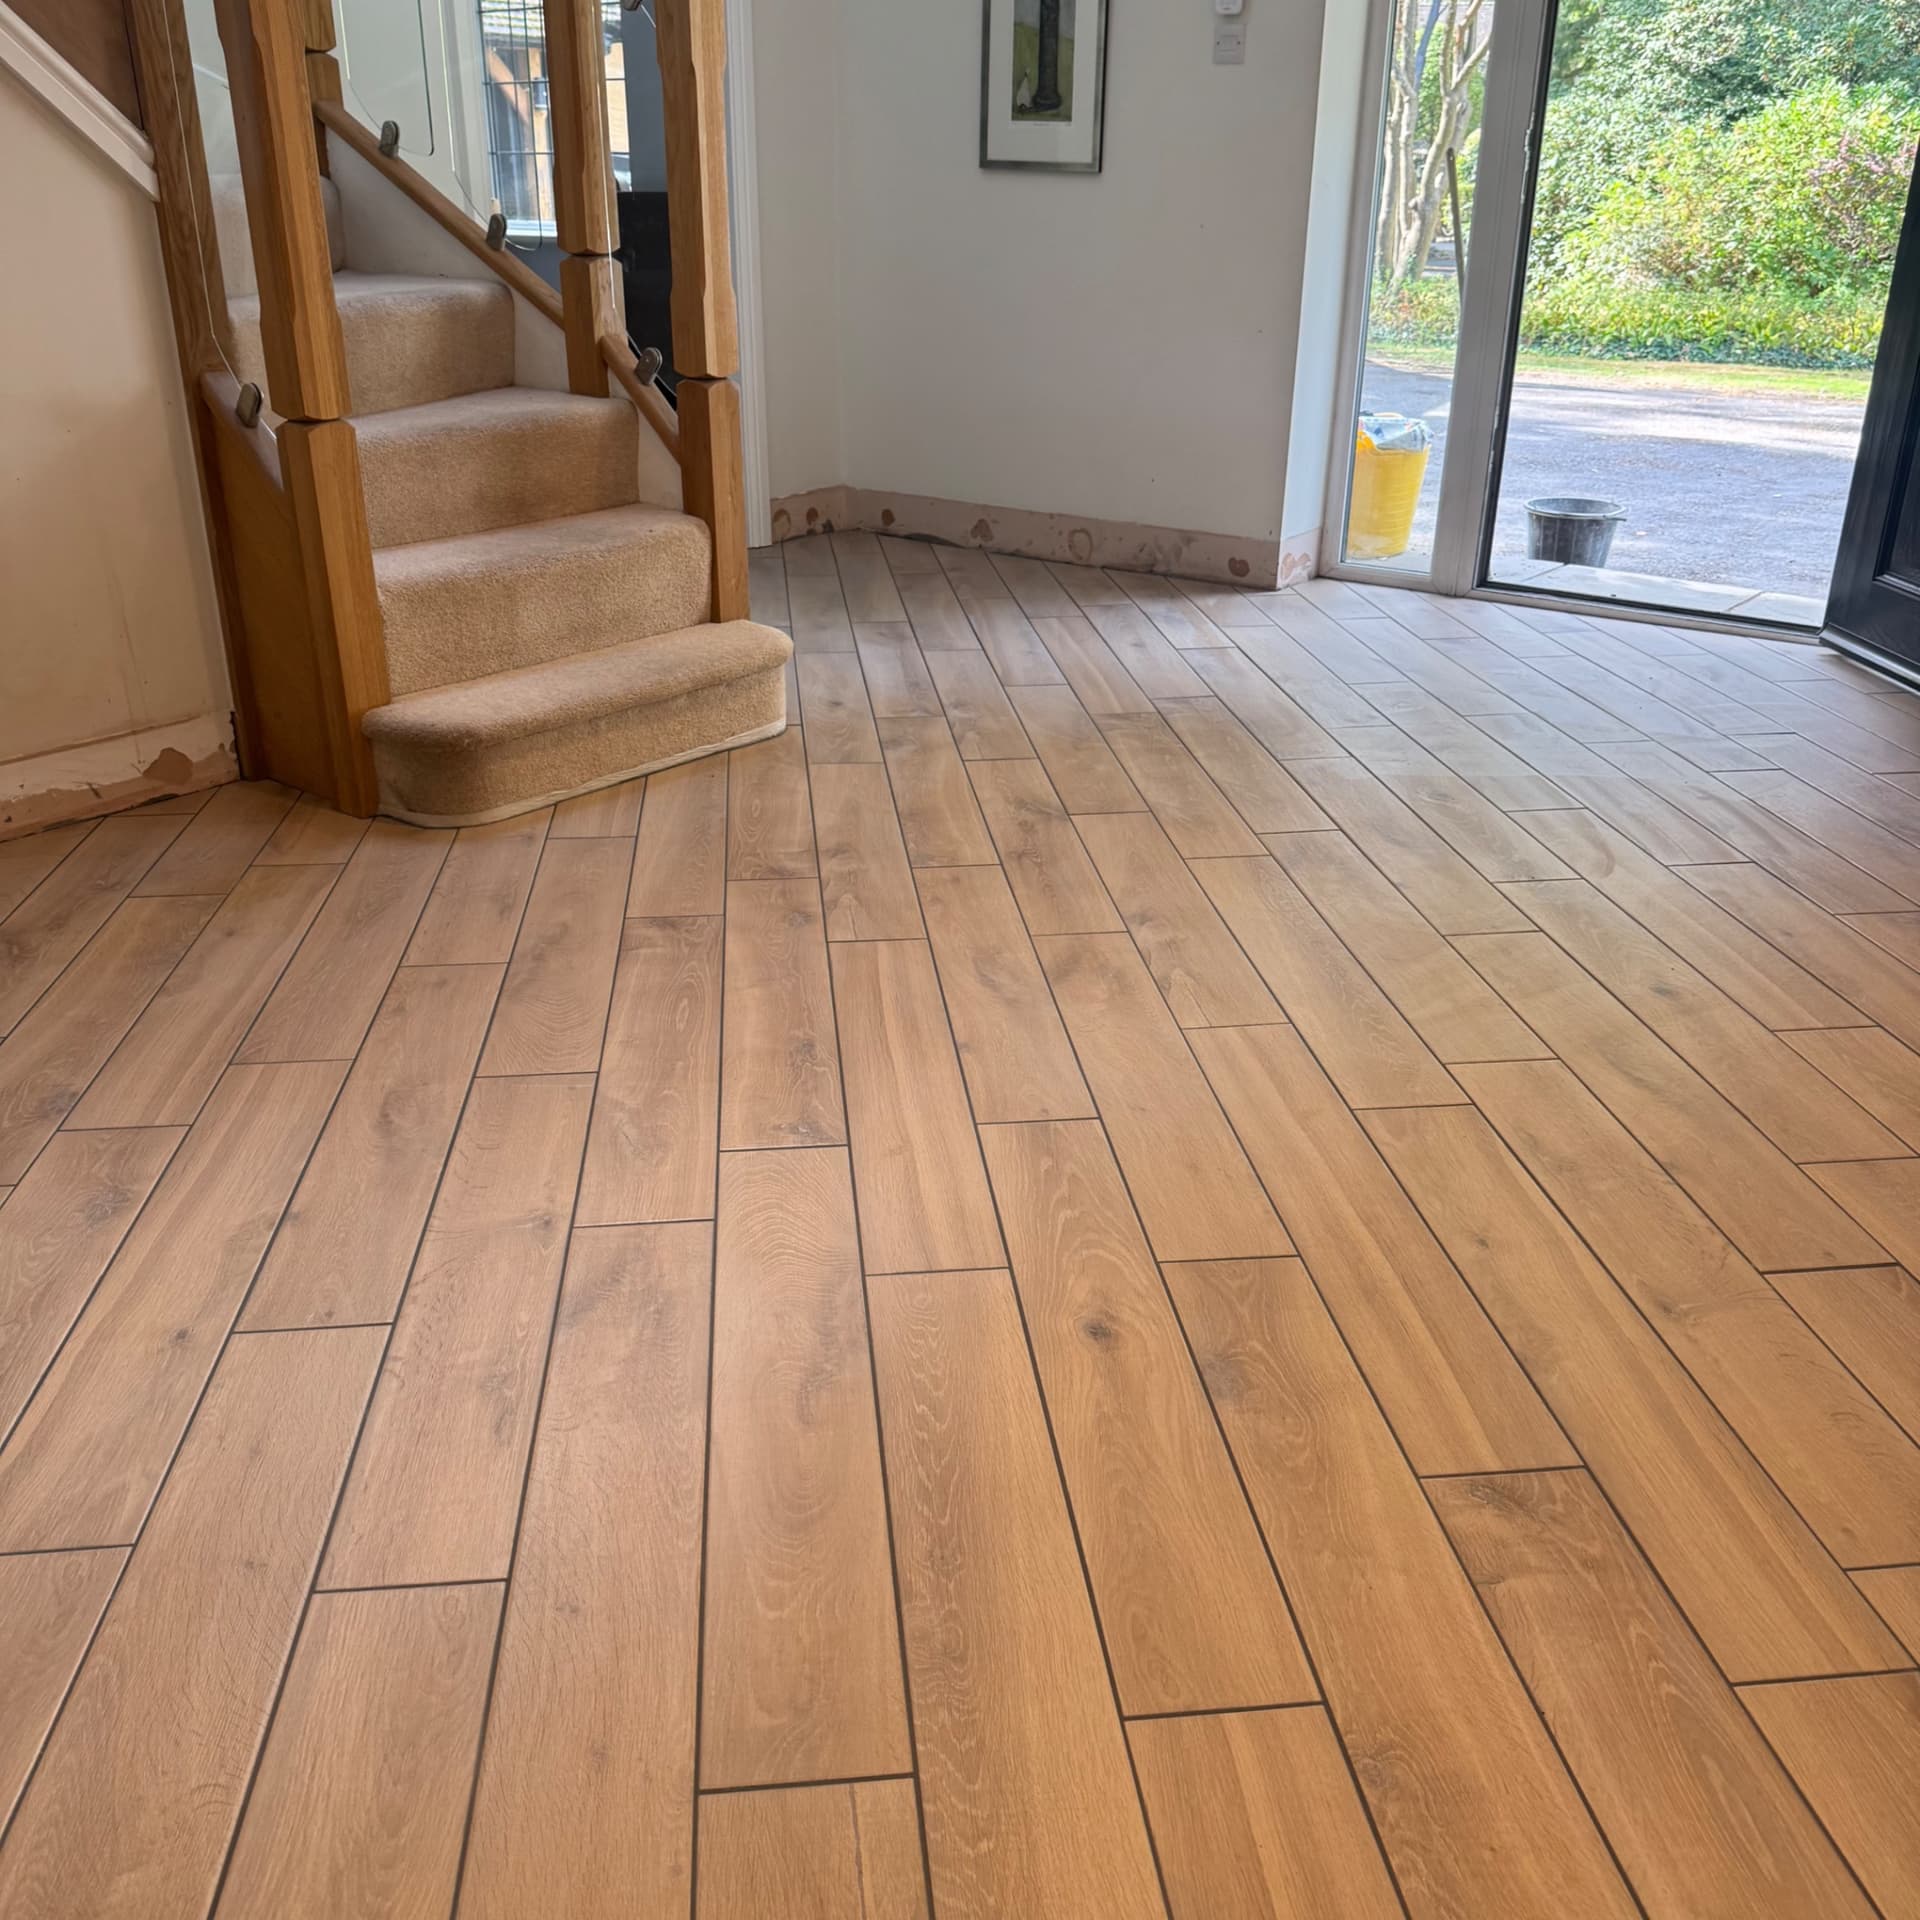
We've templated the tiles carefully around the curved step at the bottom of the staircase, and here's the finished hallway running through to the front door. The job's now complete and looking great.
October 2026
 Finished
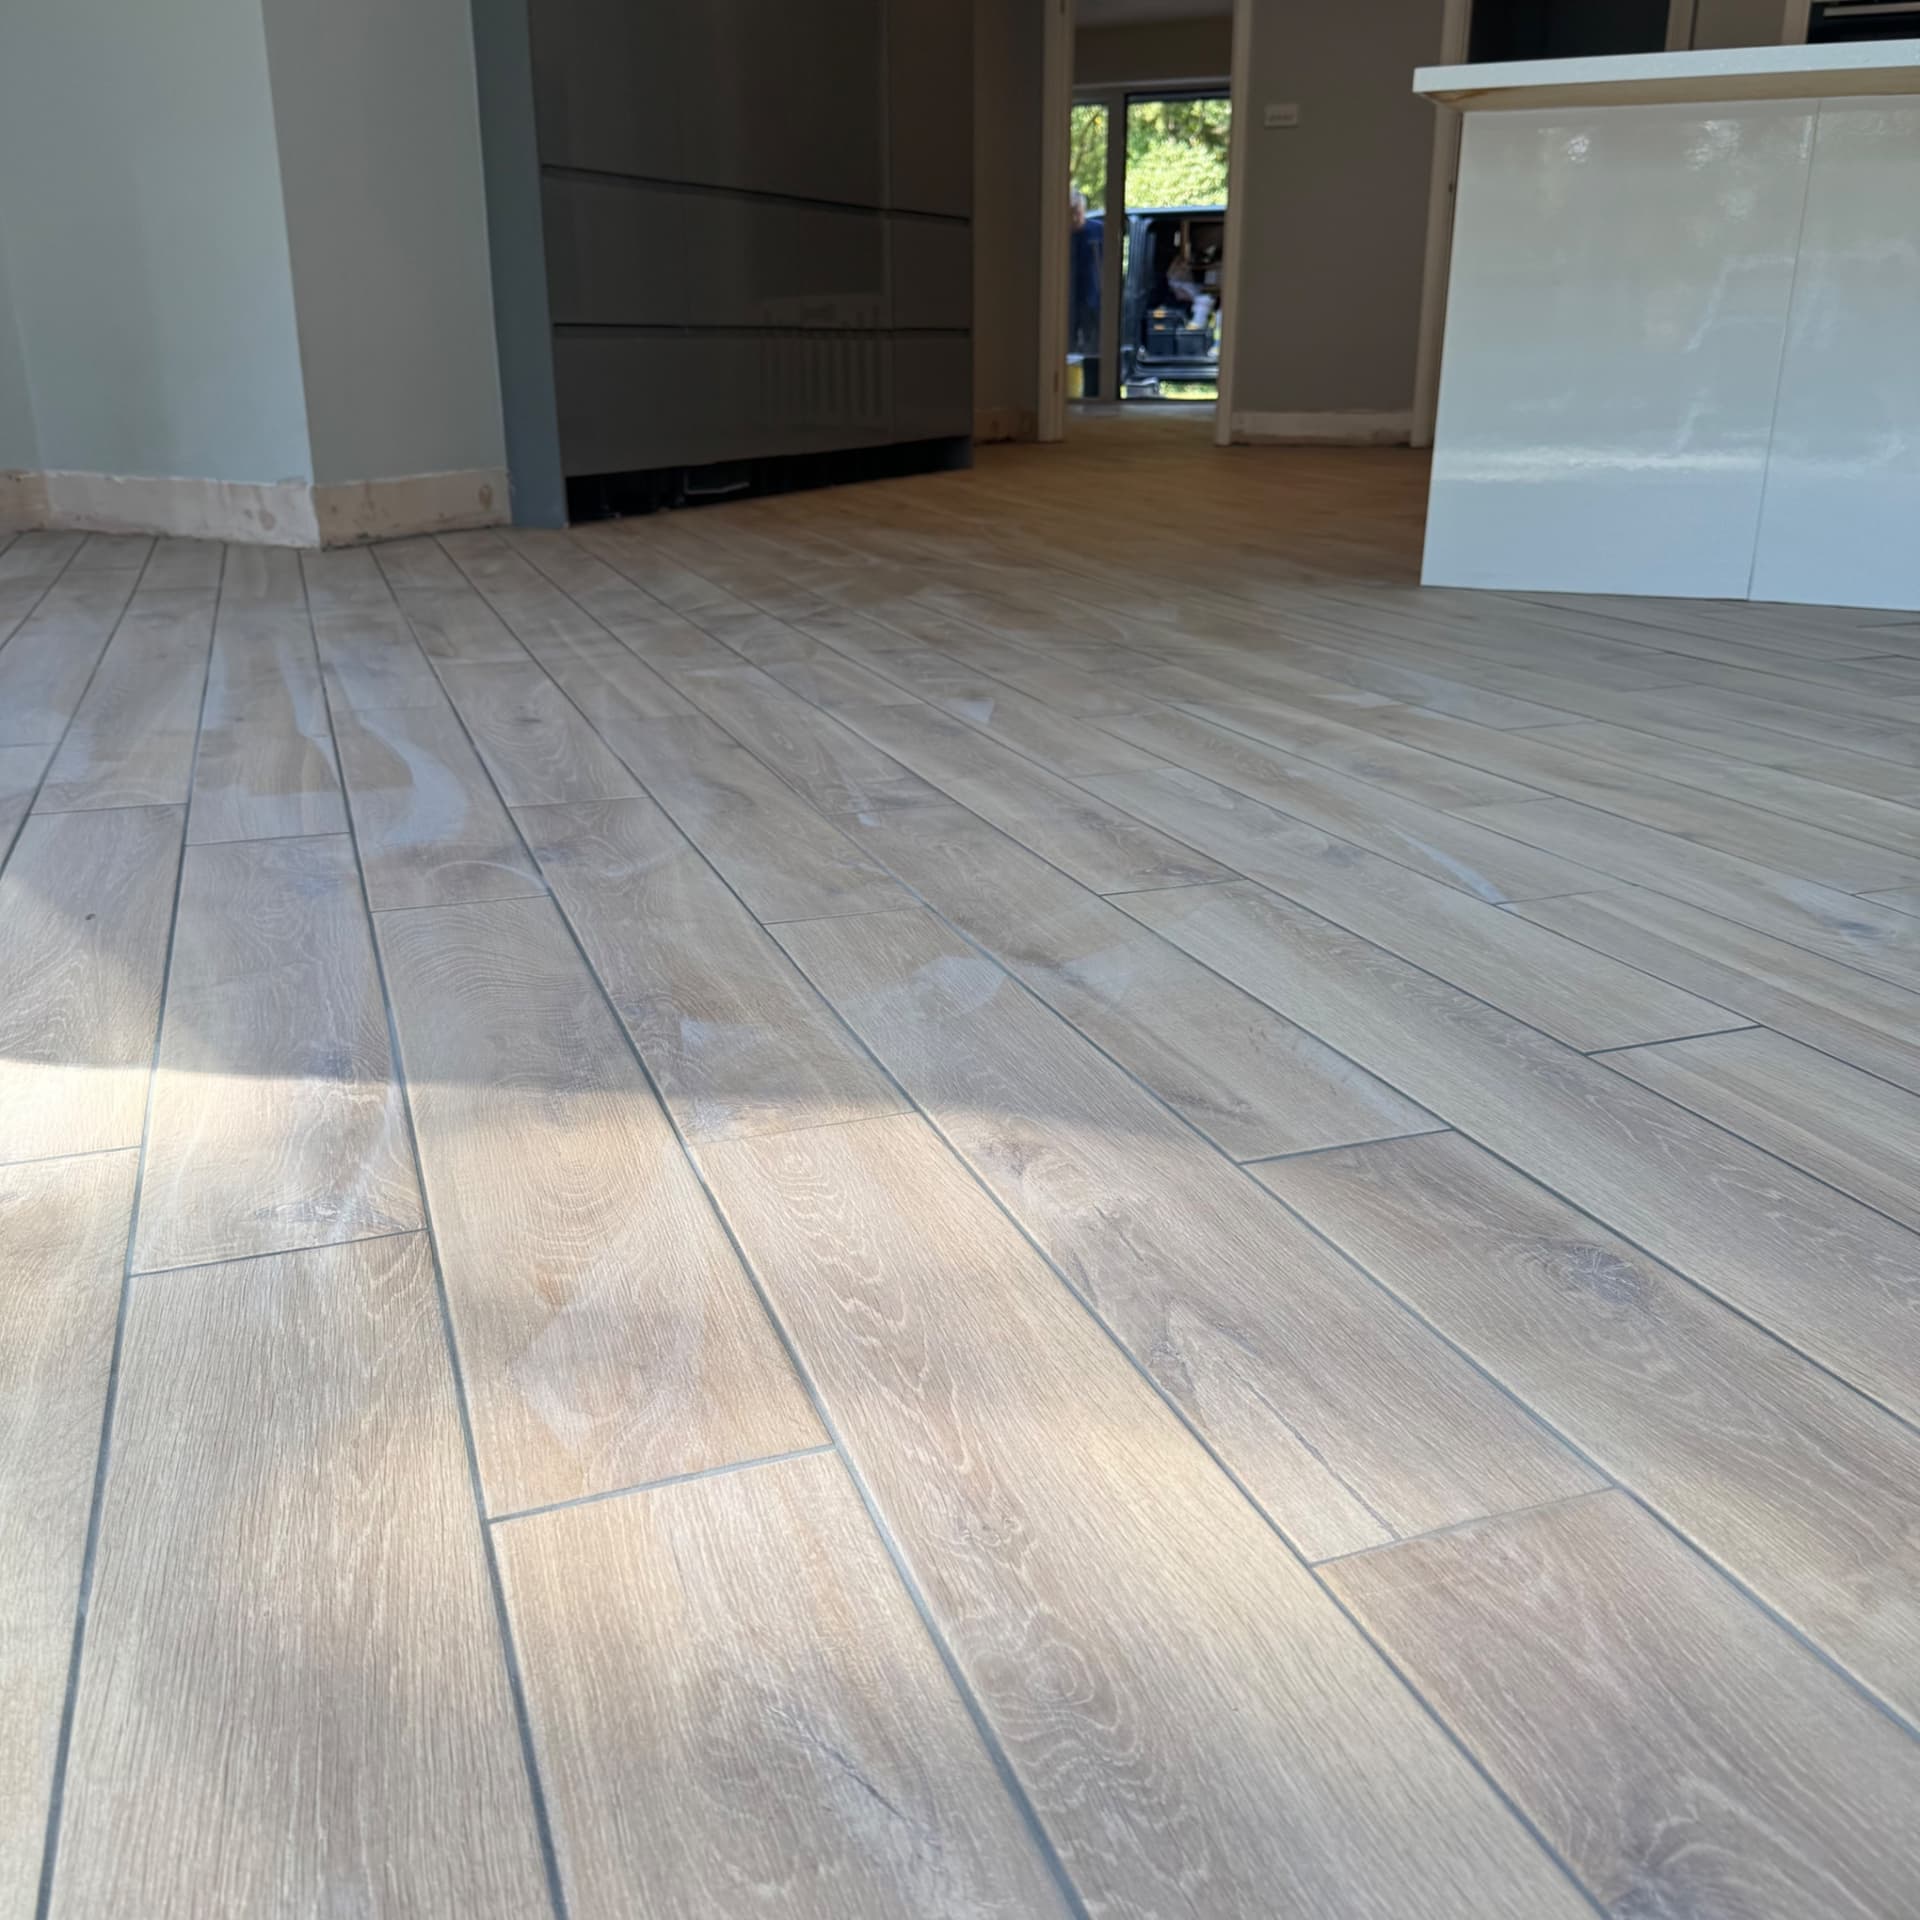
We've finished laying the kitchen floor with wood-effect tiles in a straight pattern, and they're looking great with consistent joints throughout. Just needs a final mop over to clear any smears, and then it's ready for the customer to enjoy.
October 2026
Need similar work?
Get in touch about your project and we'll come and quote.
Get a quote